

How to Install a Smart Lock on Your Front Door: Quick Answer
Installing a smart lock on your front door takes 30-60 minutes and requires basic tools like a screwdriver and drill. Most smart locks replace your existing deadbolt without structural changes to your door. Start by removing the interior side of your current lock, then install the smart lock mechanism, connect the exterior panel, and pair it with your smartphone app. No electrical wiring is needed for battery-powered models. Ensure your door frame is compatible and measure the backset distance before purchasing.
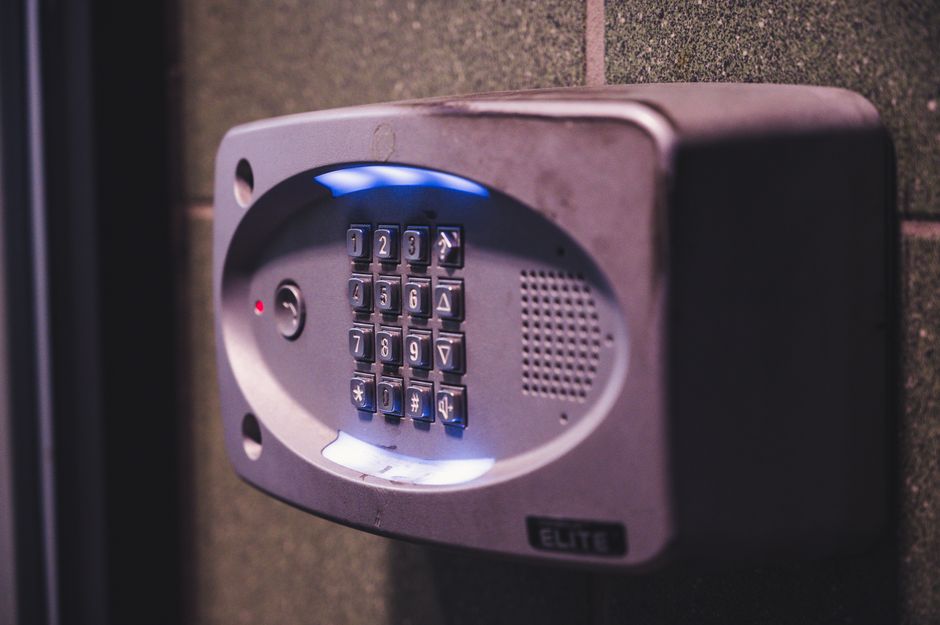
Smart locks offer keyless entry, remote access, and activity logs for enhanced home security. In July 2026, modern smart locks integrate seamlessly with voice assistants and home automation systems. They’re ideal for homeowners seeking convenience without professional installation costs. Battery life typically lasts 6-12 months depending on usage frequency. This guide walks you through every step, from preparation to final setup.
Key Takeaway: Smart lock installation is a DIY-friendly project that enhances security and convenience without requiring professional help or door modifications.
What Tools and Materials Do You Need for Smart Lock Installation?
Before starting your smart lock installation, gather the right tools and materials. Most smart locks include necessary components in the package, but you’ll need basic household tools. Having everything ready prevents delays and ensures a smooth installation process. Check your lock’s manual for specific requirements before beginning.
- Screwdrivers (Phillips and flathead)
- Power drill with bits
- Measuring tape and ruler
- Pencil for marking
- Flashlight or headlamp
- Allen wrenches (often included with lock)
- Batteries (usually AA or AAA)
- Smartphone with Bluetooth capability
Understanding Your Smart Lock Package Contents
Smart lock packages vary by manufacturer, but most include the exterior panel, interior assembly, and mounting hardware. Check that all components are present before starting. Some locks include template guides for accurate hole positioning. Read the included manual thoroughly—it contains model-specific instructions and compatibility information essential for successful installation.
Modern smart locks in 2026 often include quick-start guides with QR codes linking to video tutorials. This makes troubleshooting easier during installation. Keep all packaging until installation is complete in case you need to return components. Battery requirements differ between models, so verify what type your lock uses.
Key Takeaway: Gather all tools beforehand and thoroughly review your lock’s manual to ensure compatibility and smooth installation.
How Do You Prepare Your Door for Smart Lock Installation?
Proper door preparation is critical for successful smart lock installation. Start by measuring the backset distance—the space from the door’s edge to the center of the existing deadbolt hole. Standard backsets are 2.375 inches or 2.75 inches. Most smart locks accommodate both sizes, but verify your lock’s specifications match your door. Incorrect measurements lead to installation failure and wasted time.
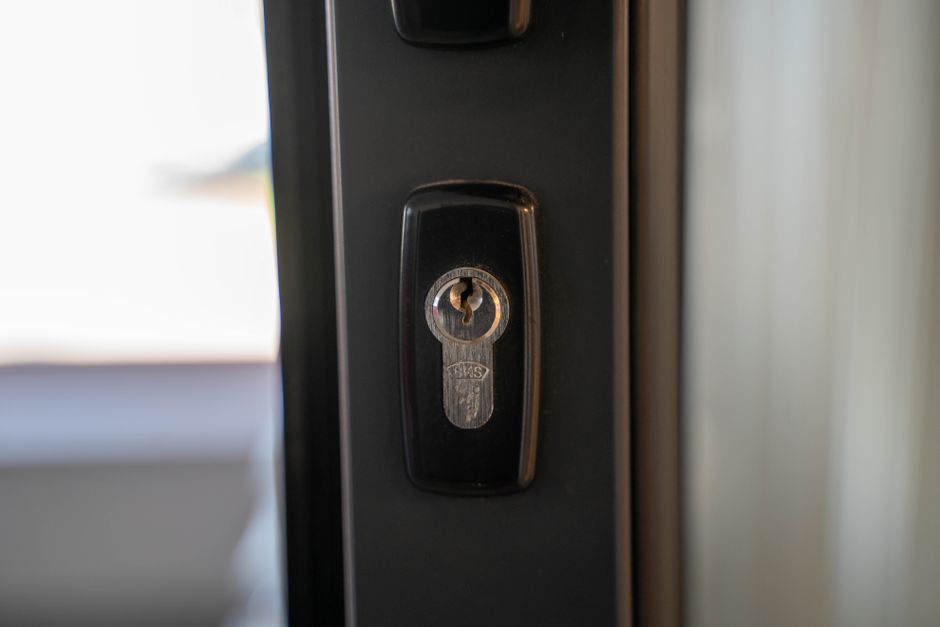
Remove your existing deadbolt completely before installing the smart lock. Work from the interior side first, removing screws that hold the interior assembly. Pull the entire mechanism out carefully. Clean the hole area of any debris or old sealant. Check that the door frame is straight and the hole is properly aligned—misaligned holes prevent the smart lock from functioning correctly.
Measuring and Marking Installation Points
Use the template provided with your smart lock to mark exact drilling locations. Position the template against your door and align it with the existing hole. Mark all screw holes with a pencil. Double-check measurements before drilling—mistakes are difficult to correct. If your door has a reinforced strike plate, ensure the smart lock doesn’t interfere with it.
- Measure backset distance from door edge to hole center
- Use manufacturer’s template for accurate hole placement
- Mark all screw positions with pencil
- Verify alignment with existing deadbolt hole
- Check for obstacles like door reinforcements or hinges
Proper preparation prevents installation errors and ensures your smart lock operates smoothly. Take time with measurements—rushing leads to costly mistakes. Most installations fail due to incorrect measurements, not assembly issues.
Key Takeaway: Accurate measurements and careful preparation are the foundation of successful smart lock installation.
What Are the Step-by-Step Installation Instructions?
Follow these sequential steps to install your smart lock correctly. The process typically involves removing the old lock, installing the interior mechanism, securing the exterior panel, and testing functionality. Most installations take 30-60 minutes. Work methodically through each step without rushing. Take photos during disassembly to reference during reassembly if needed.

Removing the Old Deadbolt
Start by removing the interior side of your existing deadbolt. Locate the screws holding the interior assembly and remove them with your screwdriver. Pull the interior assembly straight out. Next, remove the exterior knob or handle if necessary. Some locks have a retaining clip you must release before removal. Once the old lock is completely removed, inspect the hole for damage or debris.
- Remove interior screws holding the deadbolt assembly
- Pull interior mechanism straight out
- Remove exterior components if required
- Clean the hole of debris and old sealant
- Inspect door for cracks or damage
Installing the Smart Lock Mechanism
Insert the smart lock’s interior assembly into the door hole from inside. Align it with the marked screw holes. Secure it with the provided screws, tightening them evenly. Don’t over-tighten—this can strip the screws or crack the lock housing. Insert batteries into the interior assembly according to the manual’s instructions. Test that the mechanism moves smoothly before proceeding to the exterior installation.
Most smart locks have a manual deadbolt override on the interior side. Verify this works before installing the exterior panel. This ensures you can unlock the door manually if the batteries die. Some models include a test mode—activate it before final assembly to confirm the mechanism operates correctly.
Attaching the Exterior Panel
Slide the exterior panel onto the lock mechanism from outside. Align it carefully with the interior assembly. Secure it with the provided screws, working from top to bottom. Ensure the panel sits flush against the door with no gaps. Tighten all screws evenly to prevent uneven pressure. Test the lock by pressing the button or entering your code—it should lock and unlock smoothly without grinding sounds.
The exterior panel’s alignment is crucial for weather protection and longevity. A misaligned panel allows water infiltration and reduces battery life. If the panel doesn’t sit flush, remove it and check for obstacles or misaligned interior components. Most installation issues stem from improper alignment at this stage.
Key Takeaway: Follow each installation step methodically, ensuring proper alignment and secure fastening throughout the process.
How Do You Connect Your Smart Lock to Your Smartphone?
After physical installation, pairing your smart lock with your phone enables remote access and notifications. Download the manufacturer’s app from your phone’s app store. Create an account or sign in with existing credentials. Enable Bluetooth on your smartphone and ensure it’s within range of the smart lock. Most locks pair within 10-15 feet of your phone.
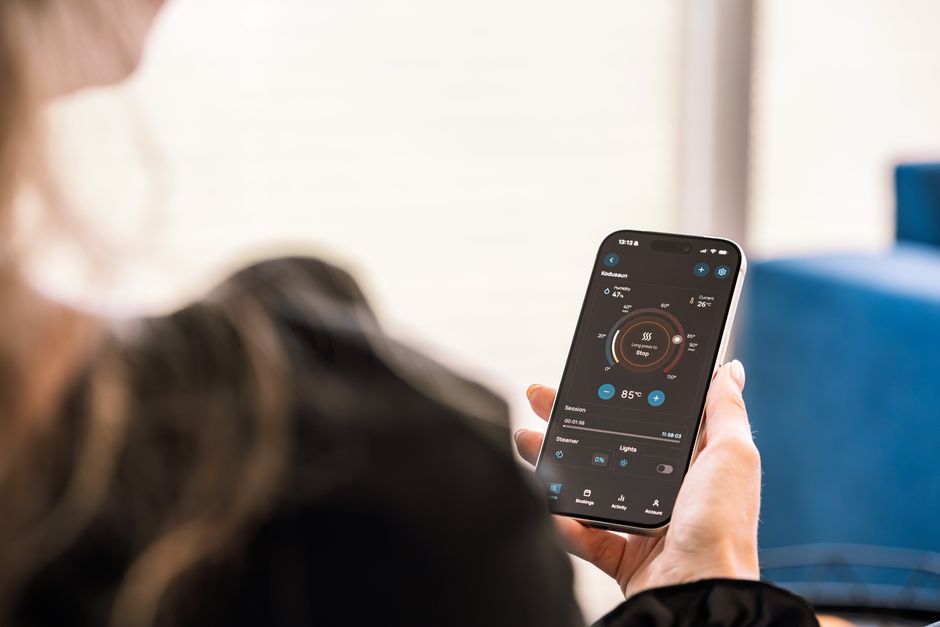
Open the app and select “Add Device” or “Pair Lock.” Hold your phone near the lock’s exterior panel. The app will search for available devices. Select your lock from the list and follow the on-screen prompts. Some locks require a PIN code displayed on the lock itself during pairing. This security measure prevents unauthorized access during setup.
Configuring Access Codes and Permissions
Once paired, create a strong primary access code in the app. Use a unique code that differs from your home’s other PIN numbers. Add secondary codes for family members, guests, or service providers. Most smart locks allow 10-20 different codes with individual activity logs. Set expiration dates for temporary codes to enhance security. This feature is essential for managing access to your home remotely.
- Create a strong primary access code (6-8 digits)
- Add codes for family members with unique identifiers
- Set expiration dates for guest or temporary codes
- Enable notifications for lock activity
- Link to voice assistants like Alexa or Google Home
Modern smart locks in 2026 integrate with home automation platforms. Connect your lock to your smart home hub for voice control and automation routines. For example, you can unlock your door automatically when you arrive home. These integrations enhance convenience and security significantly.
Key Takeaway: Proper app setup and code configuration provide secure remote access and activity monitoring for your smart lock.
What Compatibility Issues Should You Consider Before Installation?
Smart lock compatibility depends on several factors including door type, backset distance, and existing hardware. Not all doors accommodate all smart locks. Metal doors require different installation methods than wooden doors. Check your door’s material and thickness before purchasing. Most smart locks work on doors 1.375 to 1.75 inches thick. Thicker or thinner doors may require adapters or alternative models.
Verify your lock’s compatibility with your door’s existing strike plate and hinges. Some doors have reinforced plates that interfere with smart lock installation. Measure the distance from your door’s edge to the center of the deadbolt hole—this is the backset distance. Standard residential backsets are 2.375 or 2.75 inches. Confirm your chosen lock accommodates your door’s backset before purchasing.
Checking Smart Home Integration Compatibility
If you plan to integrate your smart lock with existing smart home devices, verify compatibility. Check whether your lock works with your home automation platform—Apple HomeKit, Google Home, or Amazon Alexa. Some locks require a separate hub for remote access outside your home’s WiFi range. Others use Bluetooth exclusively, limiting remote functionality. Review these requirements before installation to avoid disappointment.
- Verify door material and thickness compatibility
- Confirm backset distance matches your lock’s specifications
- Check for interference with hinges or strike plates
- Ensure smart home platform compatibility
- Confirm WiFi or Bluetooth range meets your needs
Key Takeaway: Thorough compatibility checks before purchase prevent installation failures and ensure your smart lock meets all your requirements.
How Do You Troubleshoot Common Smart Lock Installation Problems?
Installation problems are usually solvable with systematic troubleshooting. If your lock won’t lock or unlock, first check the batteries. Low battery power prevents proper operation. Replace batteries and test again. If the issue persists, verify that all screws are tight and the mechanism is properly aligned. Loose components prevent smooth operation and cause grinding sounds.
If the app won’t pair with your lock, restart both your phone and the smart lock. Ensure Bluetooth is enabled and you’re within 15 feet of the lock. Some locks require a factory reset before initial pairing. Check your manual for reset instructions—this typically involves pressing a button for 10-15 seconds. Update the app to the latest version if pairing continues to fail.
Addressing Installation Alignment Issues
Misalignment is the most common installation problem. If the exterior panel doesn’t sit flush against the door, remove it and inspect the interior assembly. Verify all interior screws are tight and the mechanism sits properly in the hole. Check for debris or obstructions. Sometimes the door frame itself is slightly warped, preventing perfect alignment. Shims can correct minor frame issues. If problems persist, contact the manufacturer’s support team.
- Check battery level and replace if depleted
- Tighten all visible screws on interior and exterior
- Restart phone and smart lock for pairing issues
- Verify Bluetooth is enabled and within range
- Factory reset the lock if pairing continues to fail
- Contact manufacturer support for persistent issues
Most smart lock manufacturers offer 24/7 support through phone, email, or chat. Don’t hesitate to contact them if troubleshooting doesn’t resolve your issue. They can often identify problems quickly and provide solutions. Many issues are resolved with simple adjustments or software updates.
Key Takeaway: Systematic troubleshooting resolves most common smart lock installation problems without professional help.
How Does Your Smart Lock Enhance Your Home Security?
Smart locks provide security advantages beyond traditional deadbolts. Activity logs show exactly when your door was locked, unlocked, and by whom. This accountability deters unauthorized access and helps identify security breaches. Remote locking capability means you can secure your door from anywhere, even if you forgot to lock it before leaving. This peace of mind is invaluable for busy homeowners.
Guest access codes eliminate the need for physical key distribution. Create temporary codes with expiration dates for service providers, guests, or cleaners. Each person’s access is individually tracked. If a code is misused, you can deactivate it immediately without changing your entire lock. This flexibility enhances security while maintaining convenience. Consider pairing your smart lock with a smart home security camera for comprehensive entry monitoring.
Integrating Smart Locks with Your Security System
Modern smart locks integrate with comprehensive home security systems. Combine your smart lock with motion-activated cameras and smartphone camera monitoring for complete entry surveillance. When someone approaches your door, cameras activate and you receive notifications. You can verify their identity before unlocking remotely. This integrated approach provides layered security that deters criminals.
- Monitor activity logs for unauthorized access attempts
- Create temporary codes for guests and service providers
- Lock or unlock remotely from anywhere with internet
- Receive real-time notifications of all lock activity
- Integrate with video doorbells for entry verification
- Set automatic locking schedules for consistent security
For additional entry security, explore video doorbell installation to see who’s at your door before opening. Combined with a smart lock, this creates a secure entry system that prevents unauthorized access. Many homeowners add remote door viewing capabilities for complete peace of mind.
Key Takeaway: Smart locks significantly enhance home security through activity monitoring, remote access control, and integration with other smart devices.
What Maintenance and Care Does Your Smart Lock Require?
Smart locks require minimal maintenance compared to traditional locks. Replace batteries every 6-12 months depending on usage frequency. Some locks send app notifications when battery levels are low, preventing unexpected lockouts. Keep the lock clean by wiping the exterior panel with a dry cloth monthly. Avoid using water or harsh chemicals that can damage the electronics.
Check that all screws remain tight every few months. Door movement and temperature changes can loosen fasteners over time. Inspect the lock mechanism for debris or corrosion. If you notice grinding sounds or resistance when locking, clean the mechanism with a dry cloth. Most smart locks operate reliably for 5-10 years with basic care. Update the app and firmware regularly to access new features and security patches.
Seasonal Maintenance and Weather Protection
Weather exposure affects smart lock longevity. In rainy climates, ensure the exterior panel is properly sealed to prevent water infiltration. Apply weatherproof sealant around the lock’s edges if water damage is a concern. In winter, keep the lock clear of ice and snow. In summer, direct sunlight can affect battery performance. Consider installing a door awning or cover if your lock receives constant sun exposure.
- Replace batteries every 6-12 months or as needed
- Wipe exterior panel monthly with dry cloth
- Tighten screws every few months
- Update app and firmware regularly
- Inspect for debris or corrosion quarterly
- Seal edges with weatherproof sealant in wet climates
Key Takeaway: Regular battery replacement and basic cleaning keep your smart lock functioning reliably for years.
Frequently Asked Questions
Can I install a smart lock on any door?
Most smart locks work on standard residential doors between 1.375 and 1.75 inches thick. Verify your door’s backset distance (2.375 or 2.75 inches) matches your lock’s specifications. Metal doors, glass doors, and non-standard doors may require adapters or alternative models. Check manufacturer compatibility guidelines before purchasing to ensure your specific door is supported.
How long does smart lock installation take?
Installation typically takes 30-60 minutes for most homeowners. The process involves removing the old lock, installing interior and exterior components, and pairing with your smartphone. Experienced installers complete it faster. Complex door configurations or compatibility issues may extend installation time. Most manufacturers provide video tutorials to guide you through the process step-by-step.
What happens if the batteries die in my smart lock?
Most smart locks include a manual override mechanism allowing you to unlock the door with a physical key or backup method. Some models have external battery packs you can connect for emergency power. The app warns you when battery levels are low, giving you time to replace them. Keep backup keys accessible for emergencies. Replace batteries every 6-12 months to prevent unexpected lockouts.
Do smart locks work without WiFi?
Many smart locks use Bluetooth for local control and work without WiFi. However, remote access from outside your home requires WiFi or a separate hub. Some locks support both Bluetooth and WiFi connectivity. Check your lock’s specifications to understand its connectivity requirements. If remote access is essential, choose a model with WiFi capability or purchase a compatible smart home hub.
Is professional installation necessary for smart locks?
Professional installation is not necessary for most homeowners. Smart locks are designed for DIY installation with basic tools. The process is straightforward and takes 30-60 minutes. However, if your door has unusual dimensions or you’re uncomfortable with installation, professional installers are available. Some smart lock retailers offer installation services for an additional fee.
Can I use my smart lock with voice assistants?
Many smart locks integrate with popular voice assistants like Amazon Alexa and Google Assistant. Compatibility depends on your specific lock model and voice platform. Check the manufacturer’s specifications before purchasing. Integration allows voice commands like “Alexa, unlock my front door.” Some locks require a separate smart home hub for voice control functionality.
How Should You Choose the Right Smart Lock for Your Needs?
Selecting the right smart lock depends on your specific requirements and preferences. Consider your door type, desired features, and budget. Evaluate whether you need WiFi remote access or if Bluetooth local control is sufficient. Check compatibility with your existing smart home devices. Read user reviews to understand real-world performance and reliability. Compare battery life, access code capacity, and integration options across different models.
In July 2026, modern smart locks offer advanced features like biometric authentication, geofencing, and artificial intelligence. Biometric locks use fingerprints or facial recognition for keyless entry. Geofencing automatically unlocks your door when you arrive home. AI-powered locks learn your habits and optimize security accordingly. Determine which features matter most to you before purchasing. Premium models offer more features but basic models provide excellent security at lower prices.
Budget considerations range from $100-$400 for quality smart locks. Entry-level models offer basic remote access and activity logs. Mid-range locks add WiFi connectivity and integration features. Premium models include advanced security features and aesthetic designs. Balance features with price to find the best value for your situation. Consider long-term reliability and manufacturer support when making your final decision.
Key Takeaway: Choose a smart lock based on your door compatibility, desired features, and integration needs rather than price alone.
What Is the Conclusion About Installing Smart Locks in 2026?
Installing a smart lock on your front door is an achievable DIY project that significantly enhances your home’s security and convenience. The process involves measuring your door, removing the old lock, installing the new mechanism, and pairing it with your smartphone app. Most installations take 30-60 minutes with basic tools. Proper preparation and careful measurements prevent common problems and ensure successful installation.
Smart locks provide numerous advantages over traditional deadbolts including remote access, activity monitoring, and guest code management. In 2026, these devices integrate seamlessly with comprehensive smart home security systems. Combining your smart lock with video doorbells and security cameras creates a layered security approach that deters criminals and provides peace of mind. Regular maintenance like battery replacement and firmware updates keeps your lock functioning reliably for years.
Whether you’re upgrading your home security or seeking convenience, smart locks are an excellent investment. The technology has matured significantly, offering reliable performance at affordable prices. Take time to select a lock compatible with your door and integrated with your smart home ecosystem. Follow the installation steps carefully, and don’t hesitate to contact manufacturer support if issues arise. Your new smart lock will provide years of secure, convenient access to your home.
Key Takeaway: Smart lock installation is an accessible DIY project that transforms your home’s security and convenience in 2026.



Write Your Review
No reviews yet. Be the first to share your experience!