

How to Install a Smart Thermostat Step by Step?
Quick Answer: Installing a smart thermostat involves turning off power, removing your old thermostat, taking a photo of the wiring, connecting wires to the new device, mounting it on the wall, and configuring it through the manufacturer’s app. Most installations take 30 minutes to an hour. You’ll need a screwdriver, wire stripper, and smartphone. Smart thermostats work with 24-volt heating and cooling systems in most homes. No special electrical knowledge is required for standard installations, though some systems may need professional help.
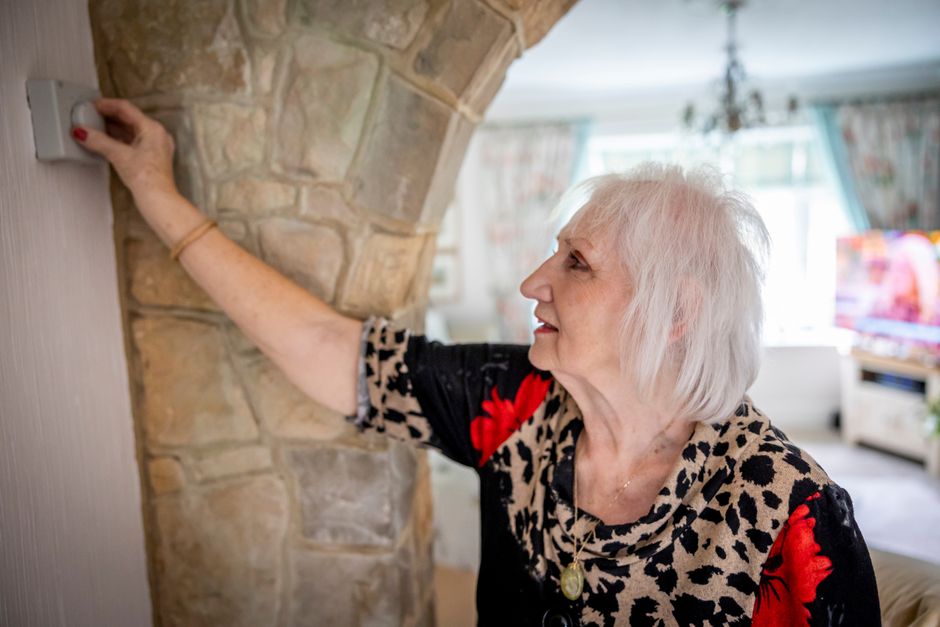
Smart thermostats have become standard in modern homes during 2026, offering energy savings and remote temperature control. These devices learn your schedule, adjust automatically, and integrate with voice assistants. Installing one yourself saves hundreds in professional installation fees. The process is straightforward for most homeowners with basic DIY skills. Understanding your current wiring before starting prevents costly mistakes and ensures proper operation.
Key Takeaway: Most homeowners can install a smart thermostat in under an hour by following basic steps and checking their existing wiring compatibility.
What Tools and Materials Do You Need Before Starting?
Gathering the right tools before beginning ensures a smooth installation process. You won’t need expensive equipment or specialized electrical tools for standard installations. Most items are common household items you likely already own. Having everything ready prevents frustrating mid-installation trips to the hardware store.
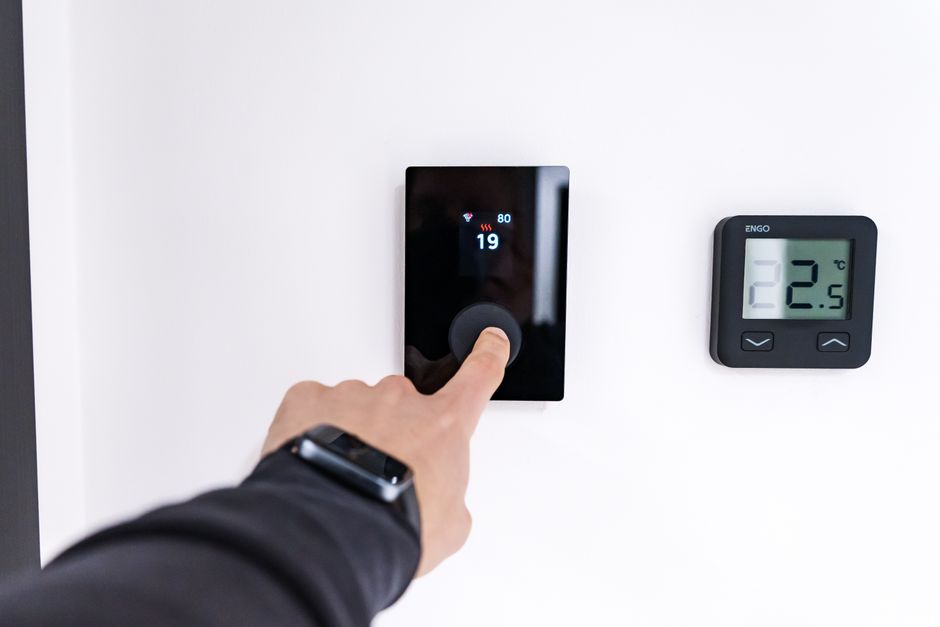
Here’s what you’ll need for a successful smart thermostat installation:
- Screwdriver set (Phillips and flathead)
- Wire stripper or small utility knife
- Smartphone with the thermostat’s app downloaded
- Pen and paper or camera for documenting wire colors
- Voltage tester (optional but recommended)
- Small needle-nose pliers for wire handling
Before purchasing a smart thermostat, verify your system compatibility. Check whether your home uses a 24-volt system, which most modern HVAC systems do. Some older systems or heat-pump setups may require additional equipment or professional installation. The thermostat manufacturer’s website provides compatibility checkers using your current system details.
Key Takeaway: Gather basic tools beforehand and verify your HVAC system compatibility to avoid installation delays.
How Do You Prepare Your Home Before Installation?
Proper preparation prevents electrical hazards and ensures your new thermostat works correctly from day one. The first critical step is cutting power to your heating and cooling system. Locate your HVAC breaker in the electrical panel and switch it off completely. Wait five minutes to ensure all power is discharged from the system.
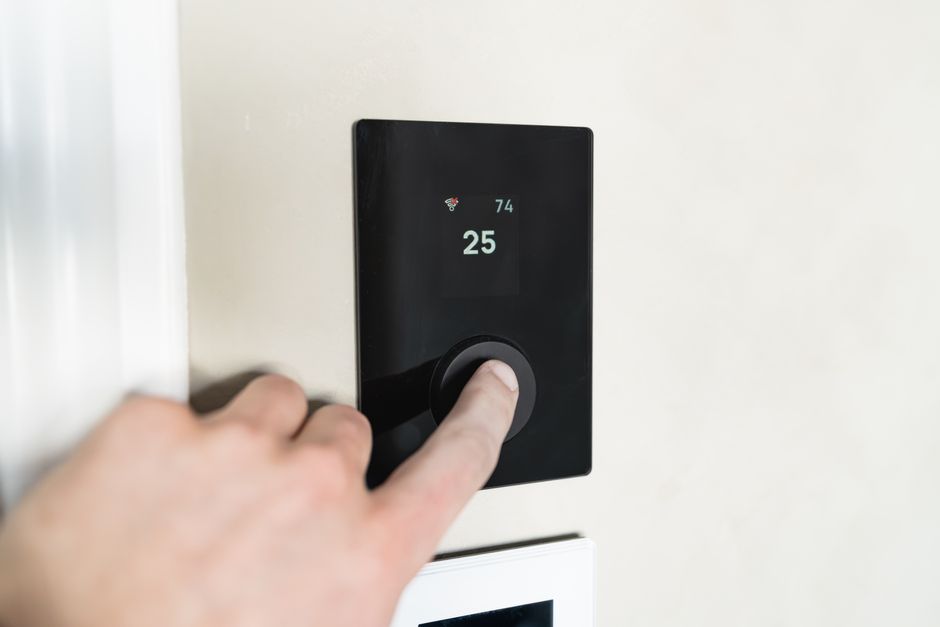
Follow these preparation steps before touching any wires:
- Turn off the HVAC breaker at your electrical panel
- Wait five minutes for power discharge
- Test the old thermostat to confirm power is off
- Take clear photos of your current wiring setup
- Document wire colors and their terminal positions
- Gather all installation materials in one location
Taking photos of your old thermostat’s wiring is absolutely essential. Most smart thermostats include wire labels (R, W, Y, G, C), but your existing setup might differ. These photos serve as your reference throughout installation. If your old thermostat is digital, take a picture of the wire configuration before removing anything.
Key Takeaway: Always cut power first, then document your existing wiring with clear photos before removing your old thermostat.
What Are the Step-by-Step Installation Instructions?
Removing Your Old Thermostat
Start by gently removing the cover or faceplate from your existing thermostat. Most models simply pull away from the wall or have a small release tab. Once exposed, locate the screws holding the base to the wall and remove them carefully. Keep these screws in a safe place—you may reuse them for the new thermostat.
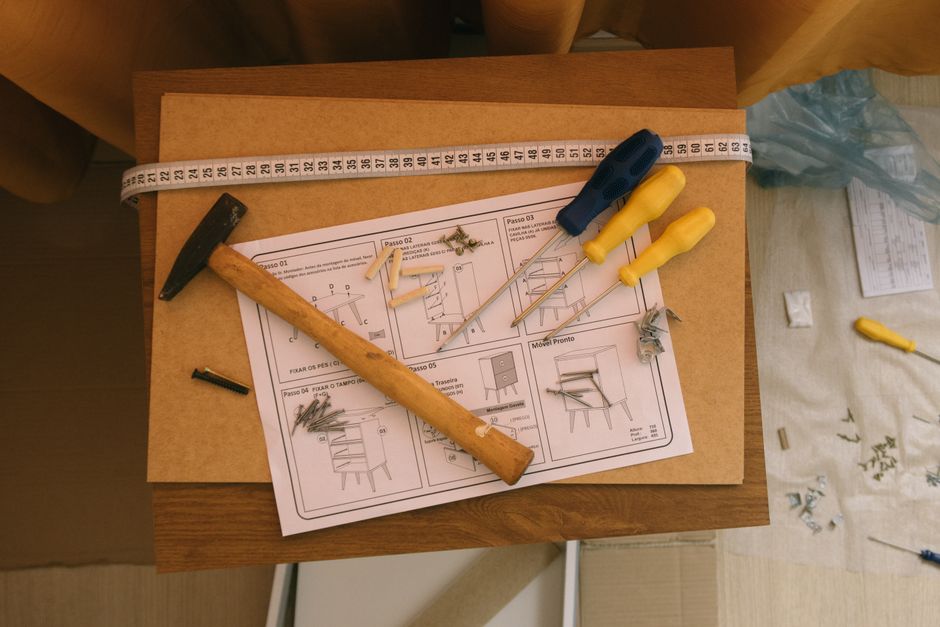
Now carefully pull the thermostat away from the wall, revealing the wires behind it. These wires are likely labeled with small letters or color-coded. Do not remove the wires yet. Instead, take another detailed photo of the exact wire positions and their terminal labels. This documentation is your safety net if you become confused during the new installation.
Once documented, begin disconnecting wires one at a time. Gently loosen the terminal screws using your screwdriver. Remove each wire and immediately label it with painter’s tape or a small sticker showing its original terminal (R, W, Y, G, or C). This prevents confusion when connecting to your new smart thermostat.
Preparing the Wall and Base Plate
Before mounting the new thermostat, inspect the wall where your old unit sat. The wall may have holes, marks, or outdated mounting brackets. Use spackling compound to fill small holes and let it dry completely. Sand the area smooth if needed for a clean installation.
Most smart thermostats include a new base plate or mounting bracket. Position this bracket on the wall using the provided template or level. Ensure it’s perfectly level before drilling new holes. Use the appropriate wall anchors if drilling into drywall, or use the original holes if they align properly with your new base plate.
Connecting the Wires to Your Smart Thermostat
This is the most critical step in the entire process. Begin by stripping about one-quarter inch of insulation from each wire end using your wire stripper. Avoid stripping too much, which creates safety hazards. Each wire should have just enough exposed copper to fit securely in the terminal.
Consult your smart thermostat’s wiring diagram, which comes in the box or on the manufacturer’s website. This diagram shows where each wire type connects. The common wire (usually blue or black) typically connects to the C terminal. The red wire (power) connects to R. The white wire (heat) connects to W. The yellow wire (cooling) connects to Y. The green wire (fan) connects to G.
Connect wires in this order:
- Insert the stripped wire end into the terminal opening
- Tighten the terminal screw firmly but not excessively
- Gently tug the wire to confirm it’s secure
- Move to the next wire and repeat
- Double-check all connections match your documentation
If you have a common wire (C terminal), connect it now. Not all systems have a dedicated common wire, which may affect smart thermostat functionality. Some newer models work without a common wire, while others require one. Check your thermostat’s manual if unsure about this wire.
Mounting and Powering On
Once all wires are connected securely, carefully push the thermostat toward the wall. Align it with the base plate mounting points and secure it with screws. Ensure the unit sits flush against the wall without gaps. A loose installation can cause connection issues or sensor problems.
Return to your electrical panel and switch the HVAC breaker back on. Wait 30 seconds for the system to power up. Your new smart thermostat should display a startup screen or light indicator. If nothing appears, return to the breaker and confirm it’s fully switched on. Wait another minute before troubleshooting further.
Key Takeaway: Wire connections are critical—match each wire to its correct terminal, then secure the thermostat firmly to the wall before restoring power.
How Do You Configure Your Smart Thermostat Through the App?
After successful installation, the real convenience begins through app configuration. Download your thermostat’s official app from the Apple App Store or Google Play Store. Create an account or sign in with existing credentials if you already have one. The app guides you through initial setup with simple prompts.
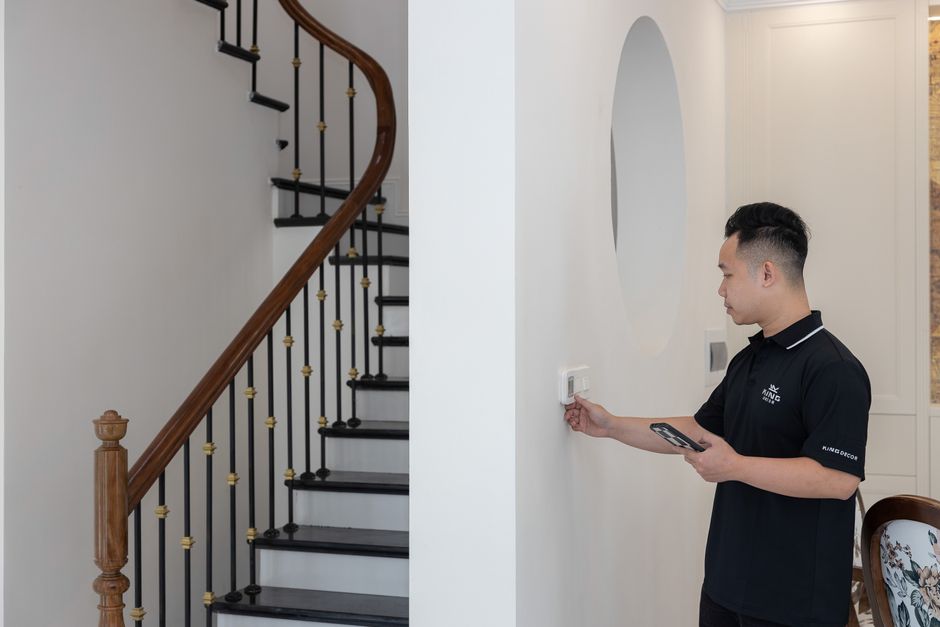
During app setup, you’ll need to:
- Connect the thermostat to your home Wi-Fi network
- Select your HVAC system type (heating only, cooling only, or both)
- Set your preferred temperature units (Fahrenheit or Celsius)
- Create a heating and cooling schedule matching your routine
- Enable remote access and notifications if desired
- Connect to voice assistants like Alexa or Google Home
Your Wi-Fi network name and password are required for connectivity. Ensure your home network is stable and within range of your thermostat’s location. Smart thermostats typically connect to 2.4GHz networks, not 5GHz bands. Check your router settings if you have separate networks and ensure the thermostat connects to the correct one.
Once connected, set your preferred temperature schedule. Most smart thermostats learn your habits over time, adjusting automatically to save energy. You can manually create schedules for weekdays and weekends. Set different temperatures for morning, daytime, evening, and nighttime periods. Test the app by changing temperatures remotely to confirm everything works properly.
Key Takeaway: App configuration is straightforward—connect to Wi-Fi, set your schedule, and enable remote access for full smart thermostat functionality.
What Common Installation Problems Should You Avoid?
Wiring Mistakes and Solutions
The most common installation error involves connecting wires to incorrect terminals. This causes heating or cooling failures, or both systems running simultaneously. Prevent this by triple-checking your wire connections against the manufacturer’s diagram. If you made an error, simply loosen the terminal screws and move the wires to their correct positions.
Another frequent issue is forgetting the common wire (C terminal). Many older homes lack a dedicated common wire, which powers the thermostat’s Wi-Fi and display continuously. Without it, some smart thermostats won’t function properly. If your system lacks a common wire, your thermostat’s manual explains alternative solutions, such as using a power extender kit.
Power and Connectivity Issues
If your thermostat won’t power on after installation, verify the HVAC breaker is fully switched on. Return to the electrical panel and flip the breaker completely off, then back on. Wait two minutes for the system to fully initialize. If still unresponsive, check all wire connections are tight by gently tugging each wire.
Wi-Fi connectivity problems often stem from weak signal strength or incorrect network selection. Move your router closer to the thermostat if possible, or upgrade to a mesh Wi-Fi system. Ensure your thermostat connects to the 2.4GHz band, not 5GHz. Restart your thermostat by turning off the HVAC breaker for 30 seconds, then turning it back on.
Key Takeaway: Most installation problems involve wiring errors or power issues—both are easily fixed by checking connections and restarting the system.
When Should You Call a Professional Installer?
While most homeowners can install smart thermostats successfully, certain situations require professional help. If your system uses millivolt or 24-volt power with unusual wiring configurations, hire an HVAC technician. Heat pump systems sometimes require additional equipment or special wiring not covered in standard installations.
Call a professional if you encounter these situations:
- Your system lacks a common wire and you’re uncomfortable with power extenders
- You have a heat pump with auxiliary heating that requires special wiring
- Your home uses a millivolt system (typically in older homes with gas fireplaces)
- Multiple thermostats control different zones in your home
- You’re unsure about your system type after checking documentation
- The thermostat won’t power on after following all troubleshooting steps
Professional installation typically costs between $100 and $300, depending on your location and system complexity. This investment ensures proper operation and protects your HVAC system from damage. Many smart thermostat manufacturers offer free professional installation through partner networks, so check before paying out of pocket.
Key Takeaway: DIY installation works for most standard systems, but professional help is worth the cost for complex setups or if you’re uncertain about your wiring.
How Can You Maximize Your Smart Thermostat’s Benefits After Installation?
Installing your smart thermostat is just the beginning. Proper configuration and usage habits unlock significant energy savings and comfort improvements. Set realistic temperature schedules that match your actual daily routine. Avoid drastic temperature swings, which force your HVAC system to work harder and consume more energy.
Optimize your smart thermostat with these strategies:
- Enable geofencing to adjust temperatures when you leave or arrive home
- Use energy-saving modes during peak pricing hours if available
- Review weekly energy reports to identify consumption patterns
- Adjust schedules seasonally as outdoor temperatures change
- Integrate with smart home routines for automated comfort
- Keep the thermostat away from direct sunlight and drafts
Geofencing uses your smartphone’s location to automatically adjust temperatures. When everyone leaves home, the thermostat reduces heating or cooling. When the first person arrives, it returns to comfort settings. This feature alone can reduce energy consumption by 10-15 percent annually. Enable it in your app settings and grant location permissions to your thermostat app.
Review your thermostat’s energy reports monthly. Most apps provide detailed breakdowns showing which heating or cooling cycles consumed the most energy. Identify patterns and adjust your schedule accordingly. If your system runs excessively during certain hours, shift your schedule to reduce that consumption. Over time, these adjustments compound into substantial savings.
Key Takeaway: Maximize savings by using geofencing, reviewing energy reports, and adjusting schedules based on actual usage patterns.
What Related Smart Home Upgrades Should You Consider?
Your new smart thermostat integrates seamlessly with other smart home devices for enhanced automation. Smart locks complement thermostats by triggering temperature adjustments when you unlock your door. Smart cameras with motion detection can activate heating or cooling when someone’s home. Voice assistants control both your thermostat and other devices through simple commands.
If you’re already upgrading your home’s smart systems, consider these complementary installations. Learn how to install a smart lock on your front door for keyless entry. Explore setting up a smart doorbell camera for home security. Check out motion alert setup on smart security cameras for comprehensive protection. These devices work together to create a fully integrated smart home ecosystem.
Key Takeaway: Pair your smart thermostat with smart locks and cameras for a fully automated, integrated home system.
Frequently Asked Questions
Can I Install a Smart Thermostat in an Apartment?
Yes, smart thermostats work in apartments if you own or have permission from your landlord to modify the wall. Renter-friendly options include temporary adhesive mounting or portable smart thermostats that don’t require permanent installation. Check your lease before making any wall modifications. Contact your landlord or property manager for approval, as they may have existing HVAC system restrictions.
Do Smart Thermostats Work with Old HVAC Systems?
Most smart thermostats work with systems manufactured after 1980. Older millivolt systems or unusual configurations may require professional assessment. Check the thermostat manufacturer’s compatibility tool by entering your current system model. If unsure, contact an HVAC technician to verify your system type before purchasing.
How Long Does a Smart Thermostat Installation Actually Take?
Standard installations typically take 30 to 60 minutes for experienced DIYers. First-time installers may need 60 to 90 minutes. The process includes removing the old thermostat, documenting wiring, connecting new wires, mounting the device, and configuring the app. Complex systems or troubleshooting issues may extend this timeline significantly.
What If My Smart Thermostat Loses Wi-Fi Connection?
Most smart thermostats continue normal operation without Wi-Fi, but you lose remote app control. Check your router’s signal strength and move it closer if needed. Restart both your router and thermostat by unplugging them for 30 seconds. Ensure the thermostat connects to your 2.4GHz network band, not 5GHz. Contact the manufacturer if problems persist after these steps.
Can I Control Multiple Thermostats from One App?
Yes, most manufacturers allow multiple thermostats on a single app account. This works for multi-zone systems or homes with separate heating and cooling units. Create separate room or zone names in the app for easy management. Each thermostat appears as a separate device you can control independently from anywhere.
Does Installing a Smart Thermostat Void My HVAC Warranty?
DIY installation typically doesn’t void your HVAC warranty as long as you don’t damage the system. However, check your warranty documentation or contact your HVAC manufacturer directly. Some warranties require professional installation by licensed technicians. If you’re unsure, professional installation protects both your warranty and your peace of mind.
Should You Install a Smart Thermostat Yourself in 2026?
Installing a smart thermostat yourself is absolutely achievable for most homeowners with basic DIY skills. The process involves straightforward steps: cutting power, documenting existing wiring, connecting wires to correct terminals, mounting the device, and configuring the app. Preparation and attention to detail prevent nearly all common problems. Taking photos of your existing setup before making changes provides crucial reference material throughout installation.
The financial savings from DIY installation are substantial—you’ll save $100 to $300 in professional installation costs. These savings, combined with the energy efficiency gains from smart thermostat operation, pay for the device itself within one to two years. Your new thermostat provides remote temperature control, learning capabilities, and integration with other smart home devices like the systems described in our guides on sharing smart lock access with family members and viewing smart camera footage on your phone.
However, don’t hesitate to call a professional if your system seems unusual or you feel uncomfortable working with electrical connections. Complex heat pump systems, millivolt setups, or multi-zone configurations benefit from professional expertise. The small investment in professional installation is worthwhile if it prevents system damage or improves long-term reliability. Either way, your smart thermostat investment will enhance your home’s comfort and efficiency throughout 2026 and beyond.
Key Takeaway: DIY installation is practical and cost-effective for standard systems, but professional help is worth considering for complex setups or if you’re uncomfortable with electrical work.



Write Your Review
No reviews yet. Be the first to share your experience!