

How to Connect a Smart Thermostat to Alexa in 2026?
Connecting your smart thermostat to Alexa enables voice control of your home’s temperature from anywhere. This integration takes just 10-15 minutes and requires your Alexa device, compatible smart thermostat, and stable WiFi connection. Once linked, you’ll adjust temperatures, check status, and create automation routines using simple voice commands. The process varies slightly by thermostat brand, but the fundamental steps remain consistent across most platforms in 2026.
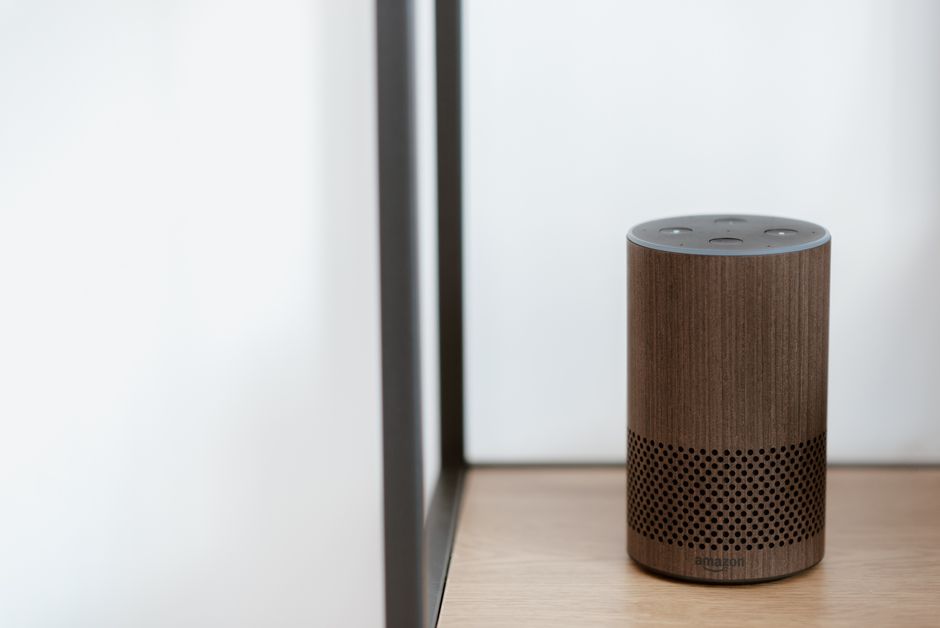
Smart thermostat and Alexa integration has become a cornerstone of modern home automation. According to Amazon’s smart home ecosystem, millions of households now control their climate through voice commands. This seamless connectivity saves energy, improves comfort, and simplifies daily routines. Whether you’re using a Nest, Ecobee, Honeywell, or other compatible model, the connection process is straightforward and user-friendly for most homeowners.
What Are the Prerequisites for Connecting a Smart Thermostat to Alexa?
Before you begin, gather the essential requirements for a successful connection. You’ll need an active Amazon account, at least one Alexa device (Echo, Echo Dot, or similar), and a compatible smart thermostat. Your thermostat must be properly installed and connected to your home WiFi network. Additionally, ensure both devices are on the same WiFi network for optimal communication and performance.
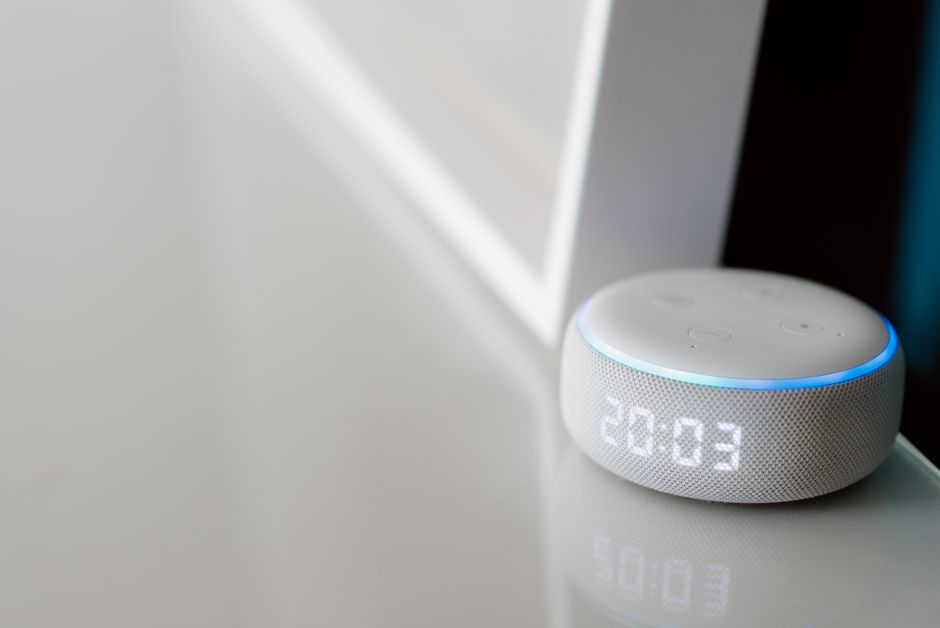
Compatibility is crucial for this integration to work smoothly.
- Compatible thermostats: Nest, Ecobee, Honeywell Home, Trane, Carrier, and Lennox models.
- Alexa devices: Any Echo speaker, Echo Dot, Echo Show, or Fire TV device with Alexa.
- WiFi requirements: 2.4 GHz or 5 GHz network with stable internet connection.
- Mobile apps: Alexa app (iOS/Android) and your thermostat’s native app installed.
- Account status: Active subscriptions or free accounts for both services.
Check your thermostat’s manual or manufacturer website to confirm Alexa compatibility. Some older models may not support voice assistant integration. If you’re unsure whether your device qualifies, visit the Alexa Skills store and search for your thermostat brand to verify compatibility before proceeding.
Key Takeaway: Ensure your thermostat model, Alexa device, and WiFi network meet all compatibility requirements before attempting connection.
How Do You Enable the Smart Thermostat Skill in Alexa?
The first step involves enabling your thermostat’s skill in the Alexa app. Open the Alexa mobile application on your smartphone. Navigate to the “More” menu and select “Skills & Games.” Search for your thermostat brand (such as “Nest,” “Ecobee,” or “Honeywell”) in the search bar. Tap the skill result and select “Enable to Use.”
Finding and Installing the Correct Skill
The Alexa Skills store contains hundreds of smart home integrations. Locate your specific thermostat’s official skill by searching the brand name. Verify the skill is published by the official manufacturer, not a third-party developer. Official skills have blue checkmarks and display the company’s verified logo. Avoid unofficial skills, as they may lack security updates or proper functionality.
Once you’ve found the correct skill, tap “Enable to Use” and follow the on-screen prompts. The app will request permission to access your thermostat data. Grant all necessary permissions for full functionality. Some skills may ask you to sign in with your thermostat account credentials. Enter your login information carefully to avoid authentication errors.
Linking Your Thermostat Account
After enabling the skill, you’ll be prompted to link your thermostat account. Click “Link Account” and enter your thermostat manufacturer’s login credentials. This allows Alexa to communicate with your device through the cloud. The linking process typically completes within 30-60 seconds. If authentication fails, verify your username and password are correct, then try again.
- Sign in with your thermostat account credentials in the Alexa app.
- Grant Alexa permission to access your thermostat devices.
- Confirm your device appears in the list of available thermostats.
- Select your specific thermostat if you have multiple units.
- Allow the connection to complete (usually takes under one minute).
Key Takeaway: Enable the official thermostat skill in Alexa, then link your manufacturer account to establish the connection.
What Steps Are Needed to Discover and Configure Your Thermostat in Alexa?
After linking your account, Alexa needs to discover your thermostat device. In the Alexa app, go to the “Devices” tab and tap the plus icon (+) to add a new device. Select “Add Device” and choose “Thermostat” from the device type list. The app will search for available thermostats on your network. This discovery process typically takes 30-90 seconds.
Device Discovery Process
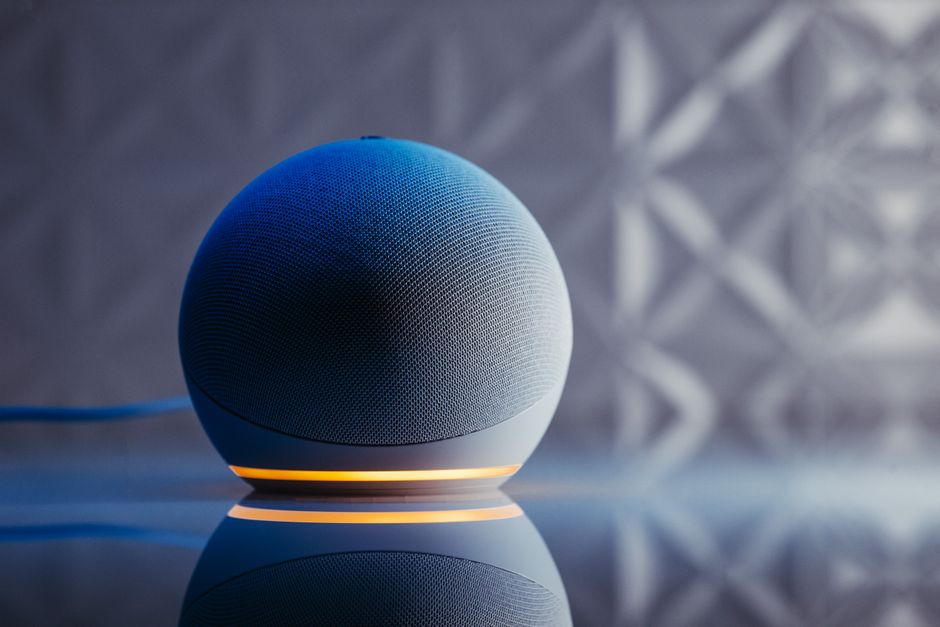
Alexa searches your home network for compatible devices. Ensure your thermostat is powered on and connected to WiFi during this scan. If Alexa doesn’t find your device immediately, restart both your thermostat and Alexa device. Wait two minutes, then retry the discovery process. Most thermostats appear within the first scan, but some require multiple attempts.
Once discovered, your thermostat will appear in the Devices list with its current temperature and status. Assign it a room location (bedroom, living room, kitchen) for better voice command organization. You can rename the device to something memorable, like “upstairs thermostat” or “main floor climate.” These custom names make voice control more intuitive and natural.
Setting Device Preferences and Automation
Configure your thermostat’s settings within the Alexa app. Adjust temperature units (Fahrenheit or Celsius), set preferred modes (heating, cooling, auto), and establish default temperature values. Create automation routines that trigger thermostat changes based on time, location, or other smart home events. For example, set your thermostat to 72°F when you say “Alexa, I’m home.”
- Assign the thermostat to a specific room for organized device management.
- Rename the device using simple, voice-friendly names.
- Set temperature unit preferences (Fahrenheit or Celsius).
- Configure default heating and cooling modes.
- Create automation routines for scheduled temperature changes.
Key Takeaway: Discover your thermostat in Alexa, assign it to a room, and configure automation routines for enhanced convenience.
How Can You Use Voice Commands to Control Your Thermostat Through Alexa?
Once your smart thermostat is connected, you can control it using simple voice commands. Start with basic temperature adjustments: “Alexa, set the thermostat to 72 degrees” or “Alexa, raise the temperature by 3 degrees.” Ask for status updates with commands like “Alexa, what’s the current temperature?” or “Alexa, what’s my thermostat set to?” Voice control works from any Alexa device in your home or remotely through the Alexa app.
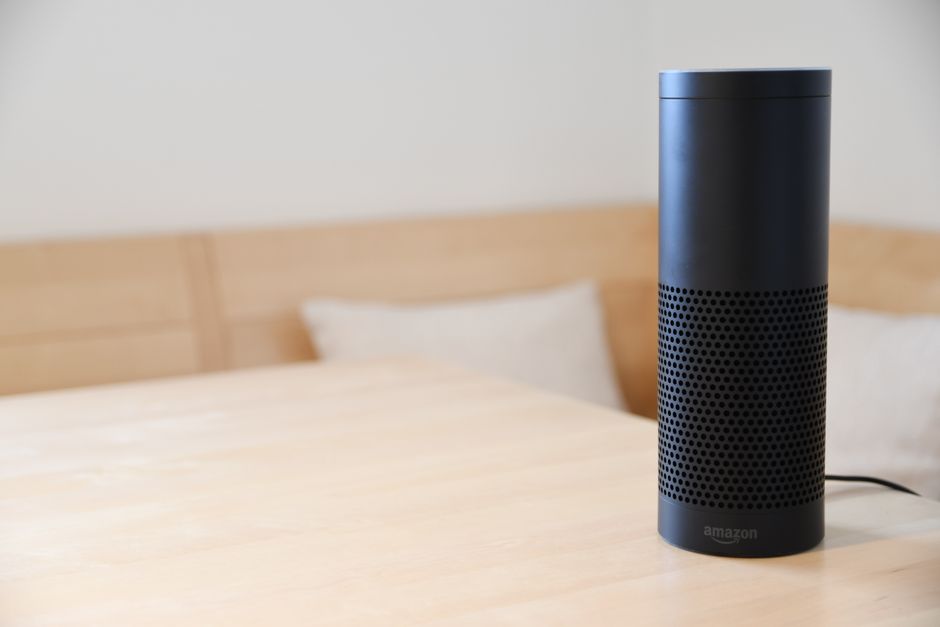
Common Voice Commands for Thermostat Control
Master these essential voice commands for daily thermostat management. Temperature adjustment commands are the most frequently used. Mode-switching commands help you transition between seasons. Status queries provide real-time information about your current climate settings. Combine these commands with room names for precise control in multi-thermostat homes.
- “Alexa, set the [room name] thermostat to [temperature].”
- “Alexa, increase the temperature by [number] degrees.”
- “Alexa, turn on the [room name] heat/cool.”
- “Alexa, set the thermostat to heating mode.”
- “Alexa, what is the current temperature?”
- “Alexa, turn off the thermostat.”
Creating Custom Routines and Scenes
Build custom routines that combine multiple actions into a single voice command. Create a “Good Morning” routine that adjusts your thermostat, turns on lights, and reads the weather forecast. Design a “Leaving Home” routine that sets your thermostat to energy-saving mode and locks your doors. These routines streamline your daily life and maximize energy efficiency throughout the day.
Access the Routines section in the Alexa app to create these custom automations. Tap “Create Routine” and name it something memorable. Add thermostat actions alongside other smart home controls. Set triggers like specific times, voice commands, or location changes. Test your routine to ensure all actions execute in the correct sequence without errors.
Key Takeaway: Use voice commands for immediate thermostat control and create custom routines for automated, multi-action climate management.
What Troubleshooting Steps Should You Follow If Connection Fails?
Connection issues are common but usually resolve quickly with proper troubleshooting. If your thermostat won’t connect to Alexa, start by verifying both devices are on the same WiFi network. Restart your thermostat, Alexa device, and WiFi router in sequence. Wait 30 seconds between each restart. Disable and re-enable the thermostat skill in the Alexa app. Most connection problems resolve after these basic steps.
Common Connection Problems and Solutions
Network connectivity is the leading cause of connection failures. Verify your WiFi signal strength near both devices. Move your Alexa device closer to your router if signal is weak. Check that your thermostat’s app shows a connected status before attempting Alexa integration. Ensure your WiFi password hasn’t changed recently, as this prevents device authentication. Some routers have guest networks that isolate devices—make sure both are on the main network.
- Verify both devices connect to the same WiFi network (2.4 GHz or 5 GHz).
- Restart your router, thermostat, and Alexa device in sequence.
- Check thermostat app for active WiFi connection and online status.
- Disable and re-enable the thermostat skill in Alexa app.
- Unlink and relink your thermostat account if errors persist.
- Update your thermostat firmware through its native app.
Advanced Troubleshooting for Persistent Issues
If basic troubleshooting doesn’t resolve your problem, try advanced solutions. Check your router’s firewall settings—some security configurations block smart home device communication. Verify your internet connection speed meets minimum requirements (at least 5 Mbps download). Contact your thermostat manufacturer’s support team if the device won’t authenticate with Alexa. They can verify your account status and resolve backend issues.
Clear your Alexa app cache and reinstall it if connection problems continue. Delete the thermostat from your Alexa devices list and re-discover it. Factory reset your thermostat as a last resort, then reinstall and reconnect it. Document any error messages you receive to share with customer support. Most issues resolve within 24 hours of troubleshooting.
Key Takeaway: Start with network verification and device restarts; escalate to account relinking and firmware updates if problems persist.
What Security Considerations Should You Keep in Mind?
Protecting your smart thermostat connection ensures your home remains secure and private. Use strong, unique passwords for both your Alexa and thermostat accounts. Enable two-factor authentication on both accounts for added security. Review Alexa app permissions regularly to ensure your thermostat access hasn’t been compromised. Change your WiFi password periodically and use WPA3 encryption if your router supports it.
Never share your thermostat account credentials with others. Instead, use Alexa’s household and family features to grant access to family members. These built-in sharing tools provide secure, granular control over who can adjust your thermostat. Monitor your Alexa app’s device activity log to detect unauthorized access attempts. If you notice suspicious activity, change your password immediately and review connected devices.
- Create strong passwords (12+ characters, mixed case, numbers, symbols).
- Enable two-factor authentication on thermostat and Alexa accounts.
- Use WPA3 WiFi encryption for your home network.
- Share access through Alexa family features, not account credentials.
- Review device permissions and activity logs monthly.
- Disable the skill immediately if you suspect unauthorized access.
Key Takeaway: Prioritize account security with strong passwords, two-factor authentication, and regular permission reviews.
How Can You Optimize Your Smart Thermostat and Alexa Integration for Energy Savings?
Maximize energy efficiency by leveraging your connected thermostat’s automation capabilities. Create temperature schedules that align with your daily routine. Set lower temperatures during sleeping hours and higher temperatures when you’re away. Use Alexa routines to automatically adjust your thermostat based on location or time of day. This strategic approach reduces energy consumption while maintaining comfort.
Monitor your thermostat’s energy reports through its native app. Most modern thermostats track heating and cooling usage patterns. Identify peak energy consumption times and adjust your routines accordingly. For additional savings guidance, check out our detailed article on how to save money on energy bills with a smart thermostat in 2026.
Creating Energy-Efficient Automation Routines
Design routines that automatically reduce heating and cooling when you’re away. Create a “Leaving Home” routine triggered by location that sets your thermostat to 78°F in summer or 62°F in winter. Build a “Returning Home” routine that restores comfortable temperatures 30 minutes before you arrive. These location-based automations prevent wasted energy on empty homes while ensuring comfort upon return.
- Set away temperatures 5-10 degrees different from home temperatures.
- Create location-based routines triggered by household members leaving/arriving.
- Schedule overnight temperature setbacks during sleeping hours.
- Use geofencing to automatically adjust climate settings.
- Review monthly energy reports to identify optimization opportunities.
Key Takeaway: Use location-based automation and scheduled routines to reduce energy consumption without sacrificing comfort.
What Are the Best Practices for Managing Multiple Smart Thermostats with Alexa?
If your home has multiple thermostats (upstairs, downstairs, separate zones), organize them strategically in Alexa. Assign each thermostat to its corresponding room or zone. Use descriptive names like “upstairs thermostat” or “master bedroom climate” for clear voice command identification. This organization prevents accidental temperature adjustments to the wrong unit.
Create zone-specific routines that control multiple thermostats simultaneously. For example, a “Movie Night” routine could set your living room to 70°F while keeping bedrooms at 68°F. Build separate automations for different areas of your home to maintain individual comfort preferences. Test all voice commands thoroughly to ensure they target the correct thermostat.
- Assign unique, descriptive names to each thermostat unit.
- Place each thermostat in its corresponding room within Alexa.
- Create zone-specific routines for multi-thermostat control.
- Test voice commands to confirm they target the correct device.
- Use room names in voice commands for precise control.
For comprehensive installation guidance, review our article on how to install a smart thermostat step by step in July 2026. If you’re interested in scheduling features, learn more about setting up heating and cooling schedules on a smart thermostat in 2026.
Key Takeaway: Organize multiple thermostats with clear naming conventions and create zone-specific routines for efficient multi-unit management.
How Do You Troubleshoot Voice Command Issues?
Voice commands may fail due to microphone sensitivity, ambient noise, or connectivity issues. Ensure your Alexa device’s microphone is enabled and positioned away from loud appliances. Speak clearly and use complete command phrases. If commands consistently fail, check your WiFi connection and restart your Alexa device. Test commands from different locations to identify connectivity dead zones in your home.
Some voice commands fail because the thermostat skill hasn’t been updated. Check the Alexa app for pending skill updates and install them immediately. Verify your thermostat account hasn’t been locked due to multiple failed login attempts. If this occurs, reset your password through the thermostat’s website, then re-authenticate in Alexa. Clear the Alexa app cache if commands become sluggish or unresponsive.
- Ensure Alexa microphone is enabled and not muted.
- Position Alexa device away from loud appliances and background noise.
- Speak clearly and use complete, specific command phrases.
- Update the thermostat skill to the latest version regularly.
- Restart your Alexa device if commands fail repeatedly.
- Check WiFi connection strength near your Alexa device.
Key Takeaway: Optimize microphone positioning, keep skills updated, and verify WiFi connectivity to ensure reliable voice command performance.
What Is the Future of Smart Thermostat and Alexa Integration in 2026?
Smart thermostat integration with Alexa continues to evolve in 2026. Artificial intelligence improvements enable predictive temperature adjustments based on weather forecasts and occupancy patterns. Voice recognition technology has become more accurate, reducing command failures and misinterpretations. Cross-platform compatibility has expanded, allowing seamless integration with multiple smart home ecosystems simultaneously.
Advanced features now include humidity control, air quality monitoring, and integration with other smart home devices. Your thermostat can communicate with smart windows, blinds, and ventilation systems to optimize climate control. Energy reports have become more detailed, providing actionable insights for further efficiency improvements. These innovations make home climate management more intuitive and effective than ever before.
Key Takeaway: 2026 smart thermostat technology offers advanced AI features, improved voice recognition, and expanded ecosystem integration for enhanced home automation.
Can You Connect Your Smart Thermostat to Alexa Remotely?
Yes, you can manage your connected smart thermostat through Alexa from anywhere using the Alexa mobile app. Once your thermostat is connected, open the Alexa app on your phone to adjust temperatures, check status, or create routines while away from home. Remote access requires an active internet connection and valid login credentials. This capability allows you to preheat or precool your home before arriving, or adjust settings if you forgot to change them before leaving.
Remote access through the Alexa app provides the same functionality as in-home voice commands. Adjust individual thermostats, create temporary automations, or check energy usage reports from your phone. Some thermostats also offer native apps with additional remote management features. Using both the Alexa app and thermostat app provides comprehensive control and monitoring capabilities from any location worldwide.
Key Takeaway: Manage your connected thermostat remotely through the Alexa app, enabling temperature adjustments and routine creation from anywhere.
How Can You Integrate Your Smart Thermostat with Other Smart Home Devices?
Your connected thermostat works seamlessly with other Alexa-compatible smart home devices. Combine thermostat controls with smart lights, locks, and cameras in unified routines. For example, create a “Good Night” routine that lowers your thermostat, locks doors, and dims lights simultaneously. Integrate with smart blinds to optimize natural heating and cooling based on sun position. These multi-device automations create a truly intelligent home ecosystem.
Explore smart lock integration options by reviewing our guides on installing a smart lock on your front door in July 2026 and sharing smart lock access with family members in July 2026. Add video doorbell monitoring through our article on setting up a smart doorbell camera in July 2026.
Key Takeaway: Integrate your thermostat with other smart home devices to create comprehensive automation routines that enhance comfort and security.
Is Connecting a Smart Thermostat to Alexa Worth the Effort in 2026?
Connecting your smart thermostat to Alexa absolutely justifies the 10-15 minute setup time. Voice control eliminates manual thermostat adjustments, saving time and effort daily. Energy savings from automated schedules typically reduce utility bills by 10-15 percent annually. Enhanced comfort through precise temperature control and remote management improves your quality of life. The convenience, efficiency gains, and long-term cost savings make this integration a valuable investment for any smart home.
The setup process has become increasingly user-friendly in 2026. Most connections complete without technical difficulties or support intervention. Troubleshooting is straightforward, and both Amazon and thermostat manufacturers provide excellent documentation. Once connected, you’ll wonder how you managed your home’s climate without voice control. The integration seamlessly blends into your daily routine, making home automation feel natural and intuitive.
Key Takeaway: Smart thermostat and Alexa integration delivers measurable energy savings, enhanced convenience, and improved comfort with minimal setup effort.
What Should You Do After Successfully Connecting Your Thermostat?
After successful connection, optimize your setup for maximum benefit. Test all voice commands from different rooms to identify any connectivity issues. Create 3-5 essential routines that match your daily schedule. Review your thermostat’s energy reports to establish baseline usage. Enable notifications for temperature changes and system errors. Share access with family members through Alexa’s household features. Schedule monthly reviews of your automation routines to identify optimization opportunities.
Explore advanced features specific to your thermostat model. Some devices offer humidity control, air quality monitoring, or geofencing capabilities. Investigate your thermostat’s native app for features not available through Alexa. Consider integrating additional smart home devices to create comprehensive automation routines. Stay informed about firmware updates and new skill features by checking the Alexa app periodically. Continuous optimization ensures your system remains efficient and responsive to your household’s evolving needs.
Key Takeaway: Test thoroughly, create essential routines, share access with family, and continuously optimize your setup for maximum smart home benefits.
Is Your Smart Thermostat and Alexa Integration Complete?
Congratulations on successfully connecting your smart thermostat to Alexa in 2026! You’ve unlocked convenient voice control, remote temperature management, and automated climate routines that enhance your home’s comfort and efficiency. Your investment in smart home technology now delivers measurable benefits through reduced energy costs and improved daily convenience. The integration process becomes easier with each additional smart device you add to your ecosystem.
Remember to maintain your system through regular firmware updates, periodic password changes, and routine optimization reviews. Monitor your energy reports to track savings and identify further efficiency improvements. Share your smart home setup with family members using Alexa’s household features for collaborative climate management. As technology continues evolving, your thermostat and Alexa integration will become even more powerful and intuitive. Enjoy the comfort and convenience of modern smart home living!




Write Your Review
No reviews yet. Be the first to share your experience!