

Imagine walking into your home and having every light, lock, and thermostat respond to a single command. That’s the power of a properly configured smart home hub. Yet many new smart home owners find themselves overwhelmed by the prospect of how to set up a smart home hub, wondering where to start and what devices will actually work together. The good news? Setting up your hub is far simpler than you might think, and we’re here to walk you through every step.

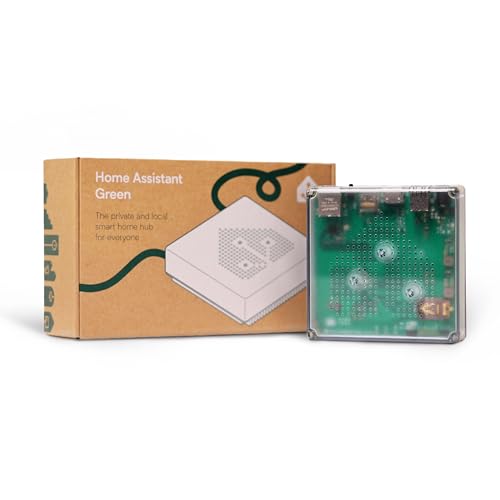
Home Assistant Green Smart Hub | Official Automation Controller
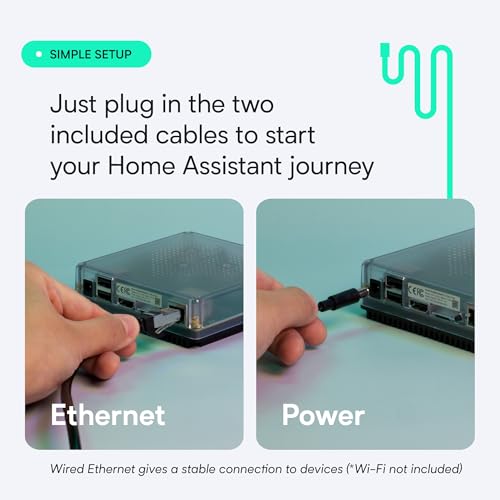
- 💡 EASIEST WAY TO GET STARTED WITH HOME ASSISTANT - With Home Assistant already installed, it only requires plugging the included power supply and Ethernet cable to get started.
- ✅ OFFICIAL - This official Home Assistant hardware is built and supported by Nabu Casa, the team driving the development of Home Assistant.
- 🏡 DESIGNED FOR THE HOME - The small, fanless, and silent design packs a quad-core processor, 32GB of storage, and 4GB of RAM.
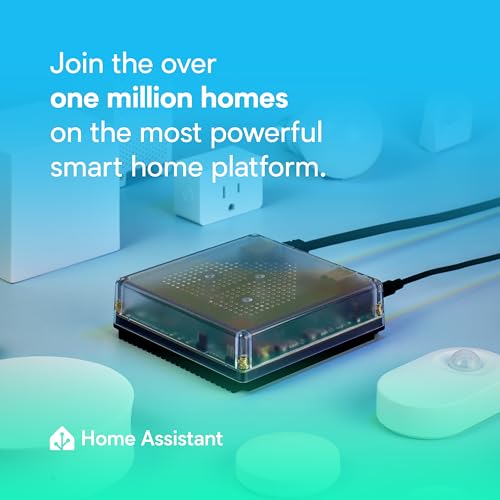
- 📱 ONE HUB TO CONTROL THE WHOLE HOME - Cut down hub and app clutter and control your whole home from Home Assistant Green.
- 🤖 AUTOMATE EVERYTHING - Make all the devices in your home work in harmony - have your lights dim when you start watching a movie, or turn off your heat when you’re away from home.
- 🔒 YOUR HOME, YOUR DATA - Your home’s data will be kept in the home on your Green. You can easily view, share, and export that data anywhere you want.
- 🌿 POWER EFFICIENT - Using only a couple of watts of power, it is the Green way to run Home Assistant.
- 🔗 USB EXPANDABILITY - If you need more connectivity, expand your Home Assistant Green with Z-Wave, Zigbee, and Thread USB devices.



As an Amazon Associate we earn from qualifying purchases. Product prices and availability are accurate as of the date/time indicated.
In 2026, smart home hubs have become the central nervous system of connected homes. They’re the bridge between your various smart devices and your smartphone, allowing seamless automation and control. Whether you’re installing your first hub or upgrading to a new one, understanding the setup process will save you time, frustration, and potential compatibility headaches down the road.
This guide will take you through everything you need to know about how to set up a smart home hub, from pre-installation preparation to connecting your first devices and configuring automation routines.
Understanding Your Smart Home Hub and Its Role
Before diving into the technical setup, it’s important to understand what your smart home hub actually does and why it matters for your connected home ecosystem.
What Is a Smart Home Hub?
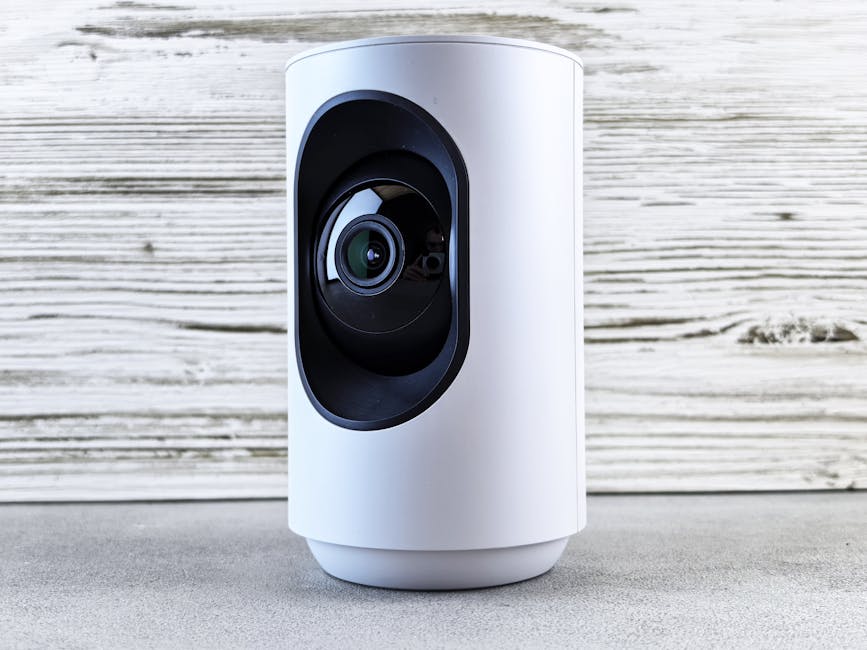
A smart home hub is a central device that communicates with all your smart devices using various wireless protocols. Think of it as a translator that speaks multiple languages. While your smartphone might communicate via WiFi, your smart lights might use Zigbee, and your door lock might use Z-Wave. The hub understands all these protocols and creates a unified system where everything works together.
This centralized approach offers significant advantages over controlling individual devices through separate apps. Your hub enables remote access, local automation that doesn’t depend on internet connectivity, and the ability to create complex routines that involve multiple devices responding to a single trigger.
Why You Need a Hub in 2026
You might be wondering if a hub is truly necessary. The answer depends on your ambitions for your smart home. If you only plan to control a WiFi-enabled speaker or a single smart bulb, you can manage without one. However, if you want to build a comprehensive smart home with multiple device types, a hub becomes invaluable. It provides local processing power, improved reliability, and the ability to create automations that work even when your internet connection drops.
Preparing for Your Smart Home Hub Setup
Proper preparation is the foundation of a successful how to set up a smart home hub experience. Taking time to plan before you plug in your device will prevent common issues and frustration.
Assess Your Current Smart Devices
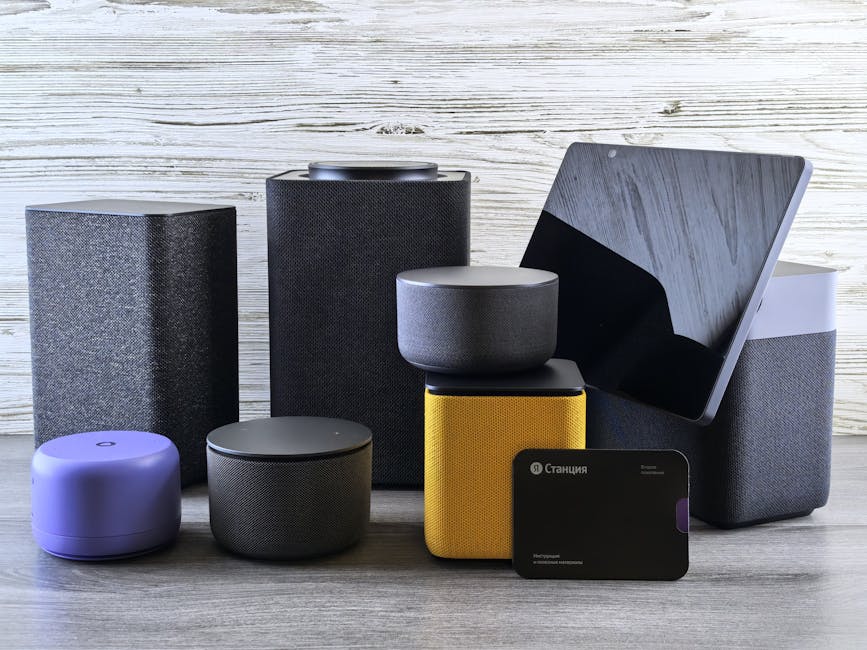
Start by taking inventory of any smart devices you already own or plan to purchase. Write down each device, its brand, and the protocol it uses (WiFi, Zigbee, Z-Wave, Thread, or Matter). This inventory serves two purposes: it helps you choose a hub that supports all your devices, and it gives you a roadmap for your setup process.
Check the product documentation or manufacturer’s website for compatibility information. Most modern hubs support multiple protocols, but confirming compatibility beforehand prevents disappointment after setup.
Choose the Right Location
Your hub’s physical location significantly impacts its performance. Here’s what to consider when choosing a spot:
- Place it in a central location in your home to maximize wireless range
- Avoid closets, cabinets, or enclosed spaces that block radio signals
- Keep it away from metal objects, microwave ovens, and other devices that cause interference
- Ensure it’s within reasonable distance of your WiFi router (though it doesn’t need to be right next to it)
- Choose a location with adequate ventilation to prevent overheating
A central hallway, living room shelf, or entryway console typically works well. Avoid placing your hub in basement corners or behind large appliances, as these locations reduce its effective range and signal strength.
Gather Necessary Information
Before you begin the actual setup process, have the following information readily available:
- Your WiFi network name and password
- Your smartphone or tablet with the manufacturer’s app already installed
- Your account credentials for the hub’s ecosystem
- A list of devices you plan to connect (with their model numbers if possible)
- Your home’s layout and room names for organization
Step-by-Step Setup Process for Your Smart Home Hub
Now that you’re prepared, let’s walk through the actual process of how to set up a smart home hub. These steps apply to most major hub systems, though specific menu names and options may vary slightly.
Step 1: Unbox and Position Your Hub
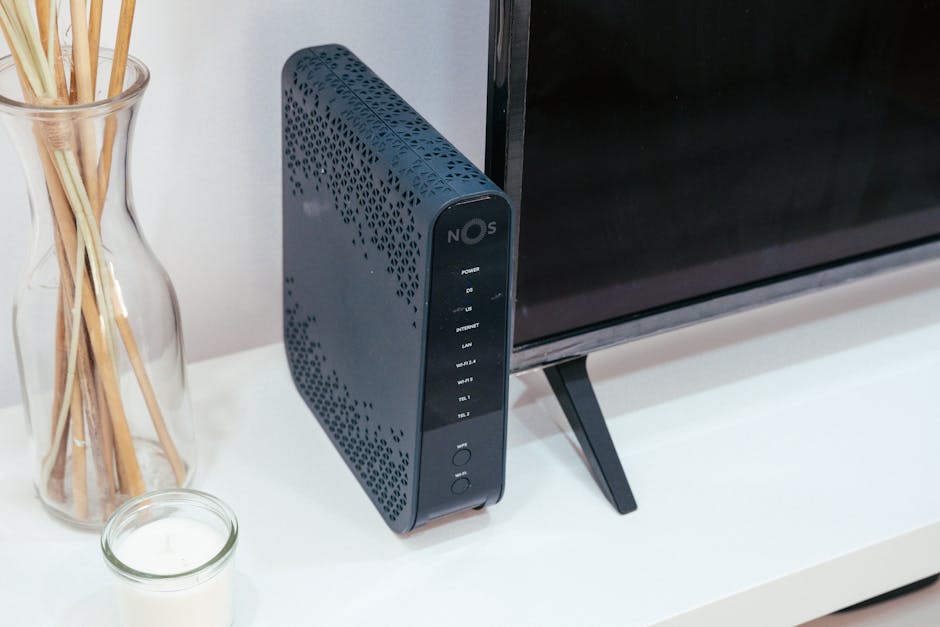
Remove your hub from the box and inspect it for any damage. Place it in your pre-selected central location. Don’t plug it in yet. Take a moment to familiarize yourself with the physical buttons and ports. Most hubs have a power button, a reset button (usually recessed), and possibly an ethernet port for wired connection.
Step 2: Download and Open the Manufacturer’s App
On your smartphone or tablet, download the official app for your hub’s manufacturer if you haven’t already. Open the app and create an account or log in if you have an existing account. This account will be your gateway to controlling your smart home remotely.
Step 3: Plug In Your Hub
Connect your hub to power using the included adapter. Most hubs take 30 seconds to a few minutes to boot up. You’ll typically see indicator lights that show the device is initializing. Wait until the lights stabilize before proceeding.
Step 4: Add Your Hub to the App
In the app, look for an option to add a new device or set up a new hub. The app will guide you through a discovery process. This usually involves confirming that you can see your hub’s lights blinking or entering a setup code from the hub itself. Follow the on-screen prompts carefully.
Step 5: Connect to WiFi
The app will ask you to select your WiFi network and enter your password. Choose your primary WiFi network (not a guest network, as these often have restrictions). If your router supports both 2.4GHz and 5GHz bands, use the 2.4GHz band for your hub, as it has better range and wall penetration.
Step 6: Name Your Hub and Set Your Location
Give your hub a meaningful name (like “Home Hub” or “Living Room Hub”) and confirm your location or timezone. This information helps with location-based automations and ensures your hub’s clock is accurate for scheduling routines.
Step 7: Complete Initial Configuration
The app may ask about your preferences for notifications, voice assistants, or other features. Configure these according to your preferences. You can always change these settings later, so don’t worry about getting everything perfect right now.
Connecting Your First Smart Devices
With your hub now set up and online, you’re ready to start adding devices. This is where your smart home truly comes to life.
Adding Zigbee and Z-Wave Devices
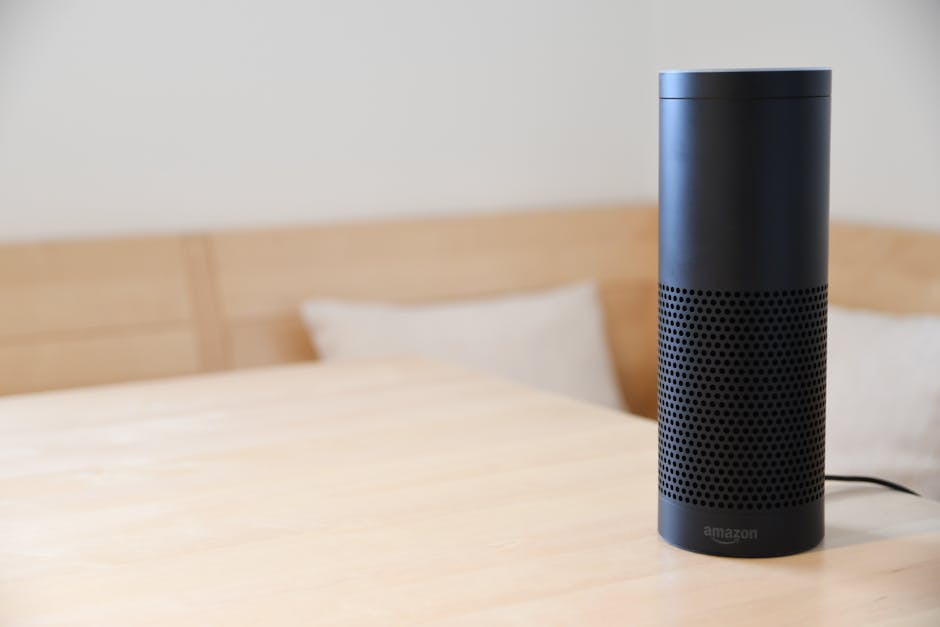
If you’re connecting Zigbee or Z-Wave devices, your hub will have a pairing mode. In the app, look for an option to add a new device or start pairing. Select Zigbee or Z-Wave depending on your device type. The hub will enter pairing mode (usually indicated by a blinking light) and will listen for new devices for a limited time (typically 2-5 minutes).
Reset your smart device according to its manual (this often involves holding a button for several seconds or toggling power on and off in a specific pattern). Once reset, the device should be discovered by your hub. Name it appropriately and assign it to a room in your home.
Adding WiFi-Enabled Devices
WiFi devices often have their own setup process. Some devices connect directly to your WiFi network and are then discovered by your hub. Others require you to connect to the device’s temporary WiFi network first to configure it. Follow the device’s setup instructions carefully, as the process varies by manufacturer.
After your WiFi device is on your network, return to your hub’s app and add it as a new device. The app should discover it automatically.
Organizing Devices into Rooms
As you add devices, assign each one to the appropriate room in your home. This organization makes controlling your devices much more intuitive. Instead of scrolling through a long list, you can quickly access all the lights in your bedroom or all devices in your kitchen.
Configuring Automations and Routines
Now that your devices are connected, you can create automations that make your smart home truly intelligent. This is where the real convenience comes in.
Understanding Automation Triggers and Actions
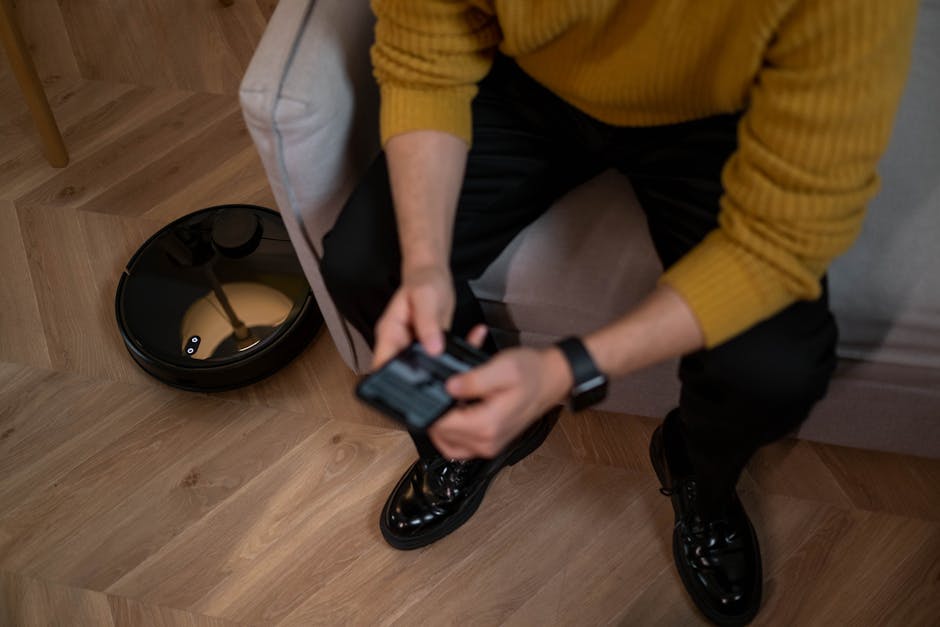
An automation consists of a trigger (something that happens) and one or more actions (what your devices do in response). Common triggers include time of day, sunset or sunrise, a device state change, or someone arriving or leaving home. Actions can be anything your connected devices can do: turning lights on or off, adjusting temperature, locking doors, or sending notifications.
Creating Your First Automation
Start simple with your first automation. For example, create a “Good Morning” routine that turns on bedroom lights and adjusts your thermostat when you wake up. Look for the automations or routines section in your app, then follow these steps:
- Tap the option to create a new automation or routine
- Give it a descriptive name
- Select your trigger (time of day, for example, 7:00 AM)
- Choose which days this should run
- Select the actions you want to occur
- Save and test your automation
Test your automation to ensure it works as expected. Make adjustments if needed. Once you’re comfortable with basic automations, you can create more complex ones involving multiple devices and conditions.
Pro Tips and Best Practices
Use Ethernet Connection for Maximum Stability
If your hub has an ethernet port and you can run a cable to it, do so. A wired connection is more stable and reliable than WiFi, especially if your hub will be handling many devices and automations. This is particularly important if your WiFi signal is weak in the location you’ve chosen for your hub.
Keep Your Hub Firmware Updated
Manufacturers regularly release firmware updates that improve performance, add features, and fix security vulnerabilities. Check your hub’s settings regularly for available updates. Most hubs can be set to update automatically, which we recommend enabling. Updates typically take just a few minutes and don’t disrupt your connected devices.
Implement a Strong Security Strategy
Your smart home hub is the gateway to your connected devices, so security matters. Use a strong, unique password for your hub account. Enable two-factor authentication if available. Consider creating a separate WiFi network for your smart home devices if your router supports it. This adds an extra layer of security by isolating your smart devices from computers and personal data.
Start with Essential Devices
When learning how to set up a smart home hub, resist the urge to connect everything at once. Start with a few essential devices like smart lights or a thermostat. Once you’re comfortable with the basics, gradually add more devices. This approach prevents overwhelm and makes troubleshooting easier if something doesn’t work right.
Create Meaningful Automations Based on Your Lifestyle
The best automations are those that genuinely improve your daily life. Think about your typical day and identify moments where smart home automation would be most valuable. Maybe you’d like your coffee maker to start when your alarm goes off, or your lights to gradually brighten before you wake up. Consider how you can improve your home’s energy efficiency, like having your thermostat adjust based on your schedule or presence in the home. For more details on thermostat setup, check out our smart thermostat setup guide for beginners.
Regularly Review and Optimize Your Setup
Your smart home should evolve with your needs. Every few months, review your automations and devices. Are there routines you never use? Are there new automations that would improve your life? Disable or delete automations that aren’t providing value, and don’t hesitate to add new ones as your needs change.
Common Mistakes to Avoid
Placing Your Hub in a Poor Location
This is one of the most common issues we see. A hub tucked away in a closet or hidden behind other devices will have limited range and poor connectivity. If you’re experiencing frequent device disconnections or slow response times, relocating your hub to a more central location should be your first troubleshooting step.
Mixing Incompatible Devices
Before purchasing smart devices, verify they’re compatible with your hub. Buying a device only to discover it doesn’t work with your hub is frustrating and wasteful. Always check compatibility documentation before making purchases.
Using Guest WiFi Networks
Many guest networks have restrictions that prevent devices from communicating with each other or the hub. Always connect your hub and WiFi devices to your primary network, not a guest network.
Creating Overly Complex Automations
While it’s tempting to create elaborate automations with many conditions and actions, complex automations are more prone to glitches. Keep your automations relatively simple and test them thoroughly. You can always create multiple simple automations to achieve the same result as one complex one.
Ignoring Security Best Practices
Using weak passwords or failing to update firmware leaves your smart home vulnerable. Treat your hub account with the same security care you’d give your email or banking accounts. Your home’s security and privacy depend on it.
Enhancing Your Smart Home Beyond Basic Setup
Once you’ve mastered the basics of how to set up a smart home hub, you can explore advanced features to further enhance your connected home.
Consider integrating voice control by connecting your hub to compatible voice assistants. This allows you to control devices hands-free. Explore advanced automations that respond to multiple conditions, such as “if I leave home and it’s getting dark, turn on the porch light.” You might also look into smart sensors that monitor air quality, humidity, or motion to trigger specific automations. For instance, improving your indoor air quality with smart home technology can be a valuable addition to your setup, which we cover in our guide on improving indoor air quality with smart home devices.
As your comfort level grows, don’t hesitate to experiment with new features and capabilities. The smart home ecosystem is constantly evolving, and your hub will likely gain new features through firmware updates throughout 2026.
Conclusion
Learning how to set up a smart home hub might seem daunting at first, but by following this comprehensive guide, you’ll have a fully functional smart home in just a few hours. The key is taking your time, preparing properly, and starting simple before expanding into more complex automations.
Remember that your smart home is a journey, not a destination. Your hub will serve as the foundation for years of smart home enjoyment and convenience. Start with the basics covered in this guide, then gradually expand your system as your comfort level increases and your needs evolve.
The investment you make in properly setting up your smart home hub will pay dividends in convenience, energy efficiency, and peace of mind. If you encounter challenges during your setup, most manufacturers offer excellent customer support, and the smart home community is incredibly helpful. Don’t hesitate to reach out for assistance. Welcome to the world of smart home living!
Recommended Products

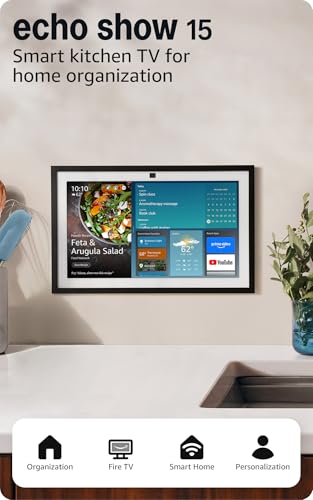
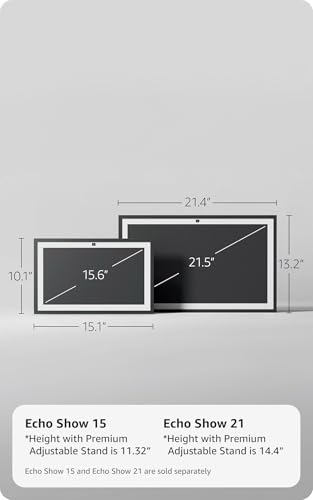
Amazon Echo Show 15 Full HD Smart Display Kitchen Hub with Fire TV
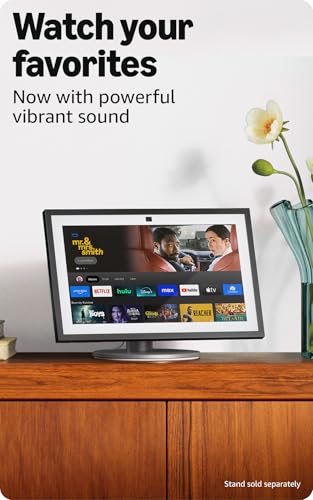
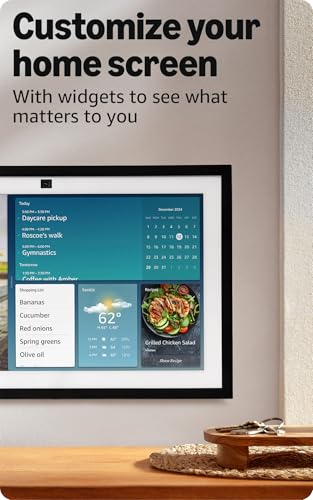
- MEET ECHO SHOW 15 - A stunning 15.6" Full-HD (1080p) smart display that's perfect for your kitchen and ready to show you more. Use customizable widgets to keep your day on track, watch your favorite shows with Fire TV and powerful vibrant sound, and enjoy natural video calling, with 3.3x zoom and wide field of view.
- FAMILY ORGANIZATION HUB - See your top widgets at a glance, like your family’s calendars and to-do lists, local weather, smart home, and more.
- ALL YOUR FAVORITES, ALL RIGHT HERE - Built-in Fire TV unlocks endless entertainment, so you can enjoy your favorite content from thousands of apps like Prime Video, Netflix, YouTube, Apple TV, and more (subscription may be required). Fire TV remote included. Plus, now you can quickly add a device to play music with Active Media - start playing a song in the kitchen, then add the living room and bedroom on the fly.
- SMART HOME CENTRAL - Control smart devices with your voice or a few taps using the smart home dashboard. Easily turn on all your living room lights at once or check live camera feeds to see what's happening around your home.
- YOUR FAVORITE MEMORIES ON DISPLAY - Brighten your space (and your day) by turning your home screen into a photo slideshow that displays your favorite memories. Auto curate your images and show off your favorite family memories.
- CONNECT LIKE NEVER BEFORE - Video calling with family and friends will feel even more natural with a centered, auto-framing camera, wide field of vision, 3.3x zoom, and noise reduction technology.
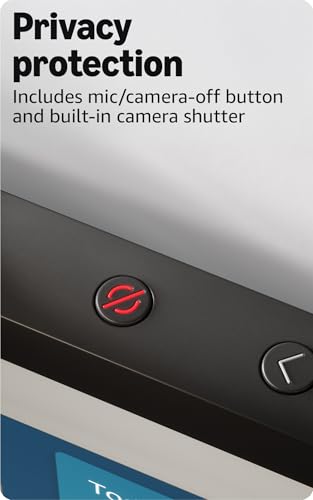
- DESIGNED TO PROTECT YOUR PRIVACY - Built with multiple layers of privacy controls, including a mic/camera-off button. Use the built-in shutter to cover the camera.



As an Amazon Associate we earn from qualifying purchases. Product prices and availability are accurate as of the date/time indicated.

Smart Multi-Mode Gateway: ZigBee 3.0 & Bluetooth & Mesh Hub, App Remote Control, Intelligent Bridge Wireless Smart Home Gateway Voice Control via Alexa/Google Home (ONLY Support Tuya Smart Devices)
- 2 MODES IN 1 GATEWAY: This Smart home hub support Bluetooth mesh (SIG) + Zigbee3.0 multi-protocol communication. Only one gateway is needed to connect devices of different protocols to the 2.4Ghz network.
- APP REMOTE CONTROL: Smart Bluetooth Zigbee hub works with smart life/Tuya App, Support Adding devices, device reset, third-party control and group control. You can manage and remotely control the device through the Smart Life App. You can manage and remotely control your lights, fingerbot and other smart devices via the app, even when you're not home.
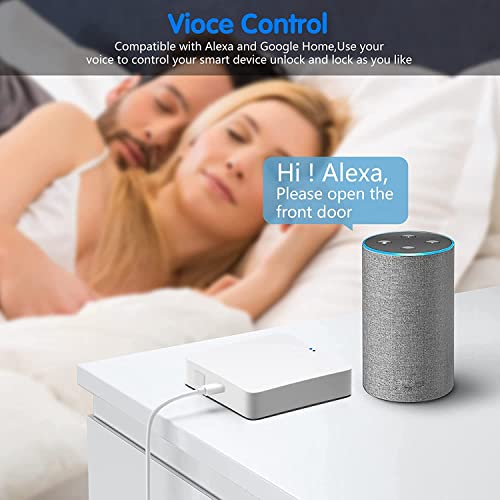
- VOICE CONTROL: The smart hub Support voice control, Simply give a voice command to Alexa or Google home to control devices(such as turn on/off the smart plug, turn on/off the Finger Bot).
- SMART HOME AUTOMATION: Sub-devices of the gateway act as trigger conditions for Interacting with devices such as ZigBee, Bluetooth, Wi-Fi, for device linkage. Featured as one powerful network bridge for whole house linkage in a real sense for all smart home devices.
- SUPPORT 128 DEVICES: Support up to 128 Tuya smart home devices, such as ZigBee Motion Sensor, Leak Detector, BLE Finger Bot, Zigbee Door Sensor, BLE Thermometer, ZigBee Window Gate Sensor, etc. NOTE: Supports Tuya/SmartLife devices only.




As an Amazon Associate we earn from qualifying purchases. Product prices and availability are accurate as of the date/time indicated.
Frequently Asked Questions
Do I absolutely need a smart home hub?
Not necessarily. If you only plan to use WiFi-enabled devices and control them through individual apps or a voice assistant, you can get by without a hub. However, a hub becomes essential if you want to create complex automations, use Zigbee or Z-Wave devices, or ensure your smart home works during internet outages.
How long does it take to set up a smart home hub?
Basic setup typically takes 15-30 minutes. However, adding devices and configuring automations can extend this timeline to several hours depending on how many devices you’re connecting. Most people complete the essential setup in under an hour.
Can I use multiple hubs in my home?
Yes, many smart home systems support multiple hubs. This is useful for larger homes where a single hub’s range might be insufficient. Multiple hubs can extend your network’s reach and improve reliability, though they require careful configuration to avoid conflicts.
What should I do if my devices keep disconnecting from the hub?
Start by relocating your hub to a more central location. Ensure it’s not surrounded by metal objects or placed near sources of interference. Check that your WiFi signal is strong at the hub’s location. If problems persist, try rebooting your hub and your WiFi router. Updating hub firmware can also resolve connectivity issues.
Is my smart home hub secure?
Modern smart home hubs include security features, but your responsibility is equally important. Use strong passwords, enable two-factor authentication, keep firmware updated, and consider isolating smart devices on a separate network. These practices significantly enhance your smart home’s security.
Can I control my smart home when I’m away from home?
Yes, one of the major advantages of a smart home hub is remote access. As long as your hub is connected to the internet, you can control your devices from anywhere using your smartphone app. This allows you to check on your home, adjust your thermostat, lock doors, or turn off lights from anywhere in the world.



Write Your Review
No reviews yet. Be the first to share your experience!