

How Do Smart Security Sensors Protect Your Home in 2026?
Smart security sensors detect unauthorized entry through doors and windows using magnetic reed switches and wireless connectivity. When a door or window opens, the sensor triggers an instant alert to your smartphone, hub, or security system. These devices work 24/7 without requiring professional installation, making them ideal for renters and homeowners alike. Most sensors integrate seamlessly with popular platforms like Alexa, Google Home, and dedicated security apps. In August 2026, modern sensors offer extended battery life, encrypted communication, and advanced automation capabilities that rival traditional alarm systems.
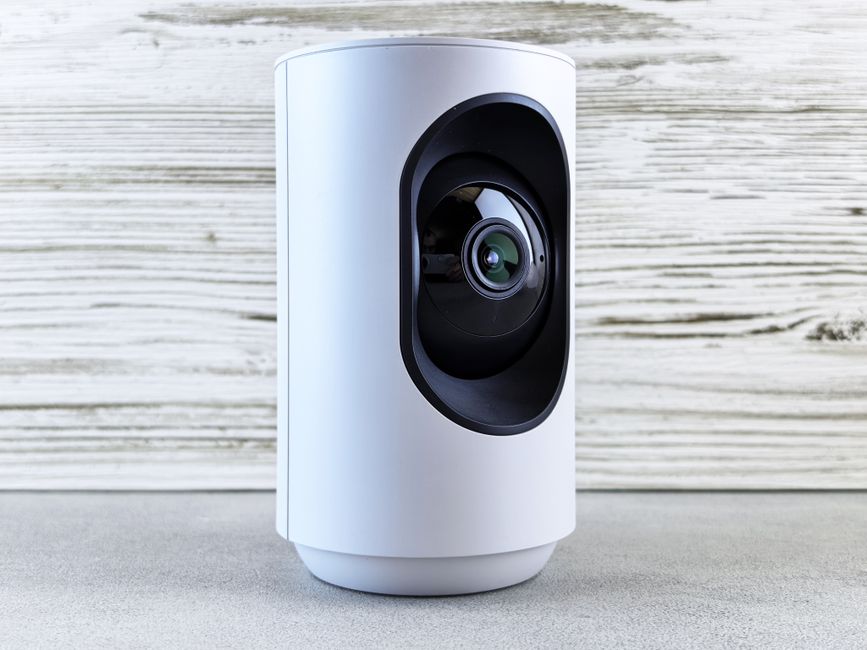
Setting up smart security sensors involves choosing compatible devices, installing hardware on entry points, connecting to your home network, and configuring automation rules. The entire process typically takes 30 minutes to two hours for a typical home. No special tools or technical expertise are required—most systems use adhesive strips or simple screws for mounting. This guide walks you through each step to ensure your doors and windows are fully protected.
Key Takeaway: Smart security sensors provide affordable, easy-to-install protection for doors and windows without professional help or long-term contracts.
What Types of Smart Security Sensors Should You Choose?
Smart security sensors come in several varieties, each designed for specific entry points and use cases. Magnetic reed sensors are the most common and affordable option, detecting when doors or windows separate from their frames. Glass break sensors detect vibrations from broken glass, adding protection for windows without requiring the window to open. Dual-purpose sensors combine entry detection with motion sensing for comprehensive coverage. Multi-sensor packs bundle multiple devices at discounted prices, making them cost-effective for protecting an entire home.
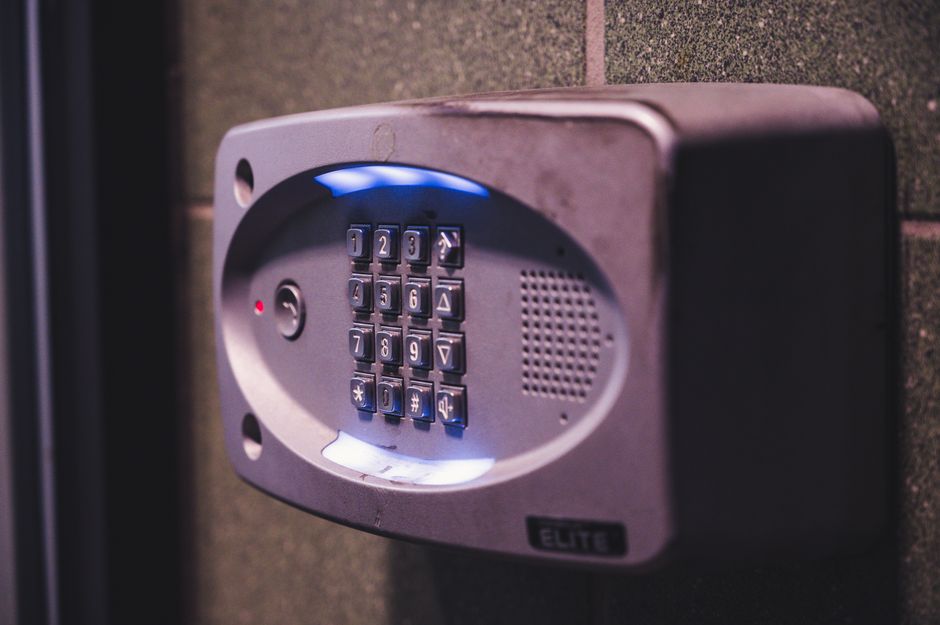
When selecting sensors, consider compatibility with your existing smart home ecosystem. Verify that devices support your preferred voice assistant and security platform. Battery life matters significantly—look for sensors offering 12 months or longer between replacements. Check wireless range specifications to ensure reliable connectivity throughout your home.
- Magnetic reed sensors: detect door and window opening (most popular).
- Glass break sensors: monitor windows for vibration from breaking glass.
- Dual-purpose sensors: combine entry and motion detection in one device.
- Multi-sensor bundles: include 4-10 sensors at discounted rates.
- Z-Wave and Zigbee models: offer longer range and lower power consumption.
Key Takeaway: Choose sensor types based on your entry points and verify compatibility with your smart home platform before purchasing.
Comparing Wireless Protocols for 2026
Wi-Fi sensors connect directly to your home network but consume more battery power. Zigbee and Z-Wave sensors use mesh networking, allowing them to relay signals through other devices for extended range. Thread-enabled sensors offer faster response times and improved reliability in 2026 homes with Thread borders. Matter protocol sensors provide universal compatibility across different ecosystems. For most users, Zigbee or Z-Wave offers the best balance of battery life, range, and affordability.
How Do You Install Smart Security Sensors on Doors?
Door sensor installation begins with gathering your equipment: the sensor kit, adhesive strips or screws, a small level, and a clean cloth. Read the manufacturer instructions carefully before starting. Most door sensors split into two parts: a transmitter that mounts on the door frame and a receiver that attaches to the door itself. Proper alignment ensures reliable detection when the door opens or closes.
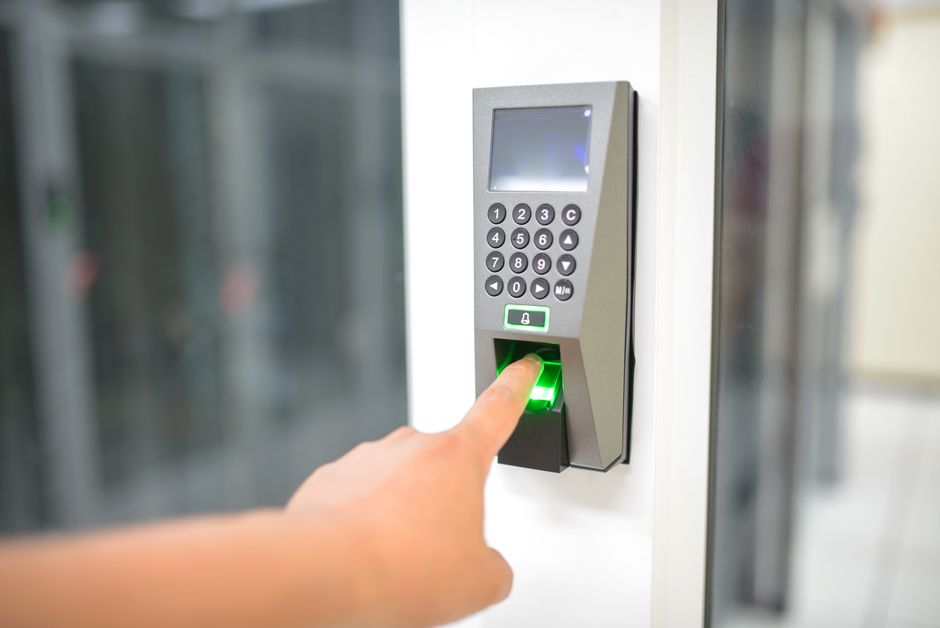
Clean both mounting surfaces thoroughly with rubbing alcohol and allow them to dry completely. This ensures adhesive strips bond securely. If using screws, drill pilot holes to prevent damage to wood or metal frames. Position the sensor components so they align perfectly when the door closes—typically 1-2 inches apart. Test the connection before finalizing installation by opening and closing the door several times.
- Clean mounting surfaces with rubbing alcohol and let dry completely.
- Position transmitter on door frame and receiver on the door itself.
- Maintain 1-2 inch gap between components for optimal detection.
- Use adhesive strips for renters or screws for permanent installation.
- Test alignment by opening and closing the door multiple times.
Front Door Installation Best Practices
Front doors receive the most traffic and require the most reliable sensors. Mount sensors on the interior side of the door to hide them from potential intruders. Position the transmitter on the upper door frame corner and the receiver on the door itself at matching height. This placement keeps sensors away from weather exposure and accidental bumps. Ensure the sensor doesn’t interfere with door locks, handles, or closing mechanisms.
Key Takeaway: Install door sensors on interior surfaces with proper alignment to ensure reliable detection and protection.
How Do You Install Smart Security Sensors on Windows?
Window sensor installation follows the same principles as door installation but requires careful positioning on window frames. Identify all windows that provide ground-level access or are easily reached from outside. Basement windows and first-floor windows present the highest security risk. Measure the window frame dimensions to determine optimal sensor placement. Most window sensors mount horizontally on the frame and sash for reliable detection.
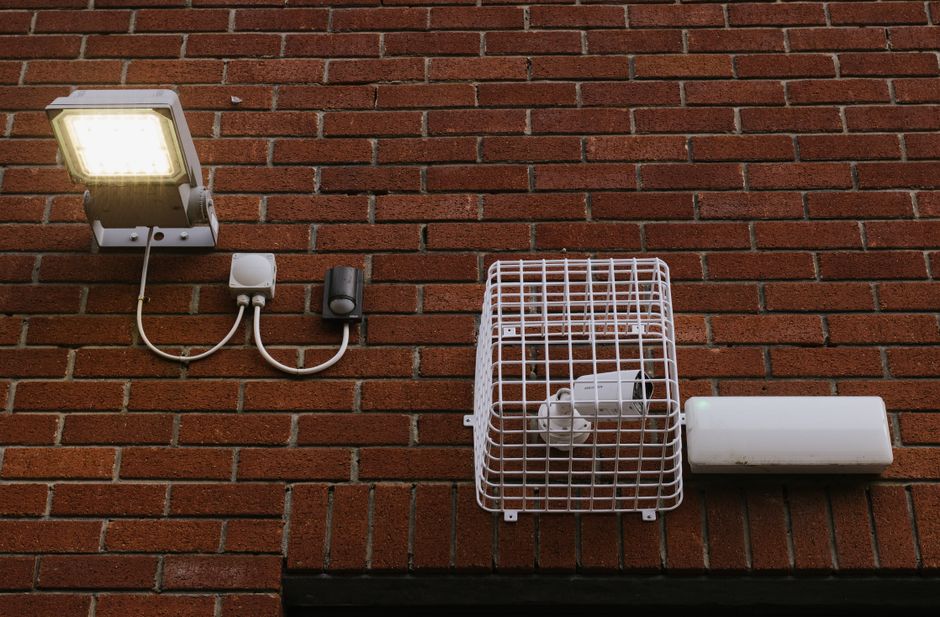
For sliding windows, position the transmitter on the fixed frame and the receiver on the sliding sash. For double-hung windows, mount sensors vertically on the side frame where the window slides. Avoid placing sensors near hinges or locking mechanisms that could interfere with operation. Test each window multiple times to confirm the sensor triggers when the window opens even slightly.
- Install sensors on all ground-level and easily accessible windows.
- Position transmitter on fixed frame and receiver on moving sash.
- Maintain 1-2 inch gap between sensor components.
- Avoid placement near hinges, locks, or mechanical components.
- Test each window thoroughly before finalizing installation.
Handling Different Window Types
Sliding glass doors require larger sensors designed for wider gaps between fixed and moving sections. Casement windows that open outward need sensors positioned on the side edges rather than top and bottom. Horizontal sliding windows use the same installation method as vertical sliding windows. Awning windows that open upward may need adhesive-only mounting to avoid interference with opening mechanisms. For unusual window styles, consult manufacturer guides or contact customer support for specific placement recommendations.
Key Takeaway: Match sensor placement to your window type to ensure proper alignment and reliable detection.
How Do You Connect Sensors to Your Smart Home Hub?
After physically installing sensors, the next step is connecting them to your smart home network. Most sensors require pairing with a central hub or bridge device that communicates with your smartphone and automation systems. Download the manufacturer’s app on your phone and create an account if required. Access the app’s pairing or setup mode to begin adding sensors to your network.
Position your hub centrally in your home for optimal wireless range and signal strength. Most hubs connect via Wi-Fi and plug into standard electrical outlets. Place the hub away from metal objects, microwaves, and other devices that emit radio interference. Test connectivity by opening and closing each door and window to confirm the app receives alerts immediately.
- Download the manufacturer’s app and create an account.
- Place your hub in a central location away from interference.
- Activate pairing mode on the hub using the app or physical button.
- Put each sensor into pairing mode (usually by removing battery tab or pressing button).
- Wait for the app to confirm successful pairing before moving to the next sensor.
Integrating with Popular Smart Home Platforms
Many smart security sensors work with comprehensive smart home security systems available in 2026. If you use Amazon Alexa, search for your sensor brand in the Alexa app and enable the skill. For Google Home users, add devices through the Google Home app by selecting “Set up device” and following the pairing instructions. Some sensors support multiple platforms simultaneously, allowing you to control them through different voice assistants.
Key Takeaway: Connect sensors to your hub first, then integrate with voice assistants and security apps for complete control.
What Automation Rules Should You Configure?
Smart security sensors become truly powerful when you configure automation rules that trigger specific actions. Create rules that send instant notifications to your phone when doors or windows open while you’re away. Set up rules that arm your security system automatically when the last person leaves home. Configure rules that turn on lights when entry is detected at night, deterring potential intruders. Schedule rules that disarm sensors during specific times when family members typically arrive home.
Advanced automations allow sensors to trigger multiple actions simultaneously. For example, opening a door could send an alert, turn on lights, and activate a security camera recording. Create separate rules for different family members if your system supports user profiles. Test all automation rules thoroughly to ensure they function correctly in real-world scenarios.
- Enable push notifications for all door and window openings.
- Create rules that arm security system when home is empty.
- Set up lighting automations triggered by entry detection.
- Configure time-based rules for expected arrival times.
- Create emergency rules that alert household members simultaneously.
Scheduling Sensors for Different Modes
Most smart security systems support multiple modes: home, away, and sleep. In home mode, you might disable door sensors but keep window sensors active. Away mode activates all sensors and sends immediate alerts for any opening. Sleep mode arms all sensors and silences notifications unless a breach occurs. Create schedules that automatically switch modes based on time of day or location of household members. This approach balances convenience with security throughout your daily routine.
Key Takeaway: Configure automation rules that match your lifestyle and security needs for maximum effectiveness.
How Do You Troubleshoot Common Sensor Problems?
Sensor connectivity issues often stem from poor Wi-Fi signal or interference from other devices. Move your hub closer to problematic sensors or relocate the hub to a more central location. Restart both the hub and your router to reset network connections. Check that sensor batteries have sufficient charge—most sensors indicate low battery through the app before completely failing. Update the hub firmware and sensor firmware through the manufacturer’s app to access the latest bug fixes and features.
False alarms occur when sensors misalign or when vibrations trigger glass break sensors incorrectly. Realign door and window sensors to ensure proper spacing and contact. Adjust sensitivity settings for glass break sensors if they trigger from normal wind or vibration. Check that doors and windows close fully and latch securely—loose doors cause repeated false alarms. Review automation rules to ensure they’re configured correctly and not triggering unintended actions.
- Restart hub and router to resolve connectivity issues.
- Reposition hub away from metal objects and interference sources.
- Check and replace sensor batteries if low or dead.
- Realign sensors to ensure proper spacing and contact.
- Update firmware for both hub and sensors regularly.
Key Takeaway: Most sensor problems resolve through simple troubleshooting like repositioning, realignment, or firmware updates.
What Maintenance Does Your System Require?
Regular maintenance keeps your smart security sensors functioning reliably for years. Check battery levels monthly through your app and replace batteries before they reach critical levels. Clean sensor lenses and transmitter windows quarterly to prevent dust buildup that blocks signals. Test all sensors monthly by opening and closing each door and window to confirm alerts arrive on your phone. Review automation rules seasonally to ensure they still match your current routine and security needs.
Update firmware whenever new versions become available, as updates often include security improvements and new features. Check physical sensor mounting annually to ensure adhesive strips haven’t loosened or screws haven’t backed out. Inspect window and door frames for cracks or damage that might affect sensor alignment. Document your sensor locations and pairing information in case you need to reinstall or replace devices.
- Check battery levels monthly and replace before they fail.
- Clean sensor lenses and windows quarterly.
- Test all sensors monthly by opening and closing entry points.
- Update firmware when new versions release.
- Inspect mounting hardware annually for loosening.
Key Takeaway: Monthly battery checks and quarterly cleaning ensure your sensors remain reliable and responsive.
How Does This Fit Into Your Overall Smart Home Security?
Smart door and window sensors form the foundation of a comprehensive home security strategy. When combined with motion sensors for interior spaces, they create layered protection against unauthorized entry. Integration with smart locks allows you to lock doors remotely when you realize you forgot to close them. Security cameras triggered by sensor alerts provide visual confirmation of entry and record potential intruders. A complete system monitors all entry points while allowing convenient access for family members.
Consider how sensors interact with other smart home devices you already own. If you have smart lighting systems, configure them to illuminate when sensors detect entry. Smart speakers can announce which door or window opened, providing immediate awareness. Smart thermostats can adjust temperature settings when the system detects you’ve left home. This interconnected approach creates a cohesive security and automation ecosystem.
Key Takeaway: Smart door and window sensors work best as part of a comprehensive security system that includes cameras, motion detection, and smart locks.
What Should You Do Before You Start Installation?
Preparation ensures smooth installation and optimal sensor performance. Walk through your home and identify all doors and windows that provide external access. Count entry points to determine how many sensors you need to purchase. Check your home’s Wi-Fi signal strength in each room using your phone’s signal meter—weak areas may need a mesh Wi-Fi system or additional hub placement. Research sensor brands and read recent reviews from 2026 to find reliable options compatible with your ecosystem.
Verify that your chosen sensors work with your existing smart home platform before purchasing. Check battery type and availability—some sensors use proprietary batteries while others use standard AA or CR2032 batteries. Gather installation tools including a level, tape measure, small screwdriver, and cleaning cloth. Clear your schedule for installation day to avoid rushing through the process. Test your Wi-Fi connection throughout your home to identify any dead zones before installing sensors.
- Identify and count all external doors and windows.
- Check Wi-Fi signal strength in each room.
- Research compatible sensors for your smart home platform.
- Verify battery type and availability before purchase.
- Gather all necessary installation tools and materials.
Key Takeaway: Plan your installation by counting entry points, checking Wi-Fi coverage, and gathering necessary tools before you begin.
Are Smart Security Sensors Worth the Investment in 2026?
Smart door and window sensors provide affordable security that costs a fraction of traditional alarm systems. Most sensor kits range from 50 to 200 dollars depending on the number of sensors and features included. No monthly monitoring fees or long-term contracts are required—you control the system entirely through your smartphone. The peace of mind knowing your entry points are monitored 24/7 justifies the investment for most homeowners and renters. In August 2026, sensor technology has matured significantly, offering reliability comparable to professional systems at a fraction of the cost.
Consider the value of instant alerts when you’re away from home. Catching a break-in attempt immediately allows you to contact authorities before property damage occurs. Remote access to your security system provides peace of mind during vacations or business travel. Integration with other smart home devices multiplies the value of your sensor investment. For renters, the non-permanent installation means you can take your security system with you when you move.
Key Takeaway: Smart security sensors offer excellent value through affordable pricing, no monthly fees, and instant mobile alerts for complete entry point protection.
Frequently Asked Questions
Can you install smart security sensors without a hub?
Some Wi-Fi sensors connect directly to your home network without requiring a hub, allowing remote alerts through the manufacturer’s app. However, most Zigbee and Z-Wave sensors require a hub for connectivity and range. Hub-based systems offer better battery life and wider coverage than Wi-Fi-only sensors. Consider your home size and Wi-Fi strength when deciding whether a hub is necessary for your setup.
How long do smart security sensor batteries last?
Most modern smart security sensors last 12 to 24 months on a single battery charge in 2026. Battery life depends on how frequently doors and windows open, sensor type, and wireless protocol used. Z-Wave and Zigbee sensors typically last longer than Wi-Fi sensors. The app notifies you when battery levels drop below 20 percent, giving you time to replace batteries before they fail completely.
Do smart security sensors work during power outages?
Wireless sensors continue functioning during power outages since they operate on batteries. However, your hub and router require power to send alerts to your phone. Battery-powered backup hubs and cellular backup options ensure connectivity during extended outages. Consider a backup power solution like a UPS battery backup for your hub and router to maintain security during power failures.
Can renters install smart security sensors?
Adhesive-mounted sensors are ideal for renters since they require no screws or permanent damage to walls and frames. Remove sensors cleanly when you move without leaving residue or damage. Verify with your landlord that adhesive sensors are acceptable before installation. Most rental-friendly sensors cost less than 100 dollars for a complete multi-sensor kit, making them affordable for temporary living situations.
What happens if a sensor loses connection to the hub?
Most systems alert you through the app when a sensor loses connection to the hub. Check that the sensor battery isn’t dead and that the hub is powered on and connected to Wi-Fi. Move the hub closer to the disconnected sensor or add a mesh router for improved range. The sensor automatically reconnects when it reestablishes communication with the hub.
Can you use multiple brands of sensors in one system?
Many smart home hubs support sensors from multiple manufacturers if they use the same wireless protocol like Zigbee or Z-Wave. However, using a single brand typically provides better integration and support. Check your hub’s compatibility list before mixing sensor brands. Using one brand simplifies troubleshooting and ensures all features work seamlessly together.
How Can You Maximize Your Smart Security Sensor Setup?
Start by installing sensors on all ground-level and easily accessible entry points. Add sensors to second-floor windows if your home has external access like balconies or nearby trees. Create multiple automation profiles for different scenarios: away mode, sleep mode, and guest mode. Enable notifications for all family members so everyone receives alerts simultaneously. Test your system monthly to ensure all sensors function correctly and alerts arrive promptly on your phone.
Combine door and window sensors with complementary security devices for comprehensive protection. Add motion sensors inside your home to detect movement after entry. Install smart cameras at entry points to record video when sensors detect openings. Connect smart locks to allow remote locking and automated access for trusted visitors. This layered approach creates a security system that rivals professional monitoring services.
Stay informed about new sensor features and capabilities released in 2026. Update firmware regularly to access security patches and performance improvements. Join online communities of smart home users to learn best practices and troubleshooting tips. Consider expanding your system as your needs evolve and new compatible devices become available. Your smart security investment should grow and improve over time as technology advances.
Key Takeaway: Maximize your smart security system by installing sensors on all entry points, combining them with complementary devices, and maintaining regular updates.
What’s Your Next Step for Home Security?
Smart door and window sensors provide the foundation for modern home security without requiring professional installation or long-term contracts. The setup process takes just a few hours and requires no special technical skills. By following the steps outlined in this guide, you’ll have 24/7 monitoring of all entry points with instant mobile alerts. Your family gains peace of mind knowing that unauthorized entry attempts trigger immediate notifications.
Begin your installation by selecting compatible sensors for your smart home platform and gathering necessary tools. Install sensors on all external doors and ground-level windows first, then expand to additional entry points. Configure automation rules that match your daily routine and security needs. Test your system thoroughly before relying on it for protection. Consider how sensors integrate with other smart home devices to create a comprehensive security ecosystem.
Smart security sensors represent an affordable, effective way to protect your home in 2026. With battery-powered wireless operation and smartphone control, they offer security that’s both convenient and reliable. Your investment in smart door and window sensors pays dividends through reduced anxiety about home security and the confidence that comes from knowing your entry points are monitored constantly. Start your setup today and enjoy the peace of mind that modern smart home security provides.









Write Your Review
No reviews yet. Be the first to share your experience!