How Do You Set Up an Aeotec Home Energy Meter Z-Wave Device?
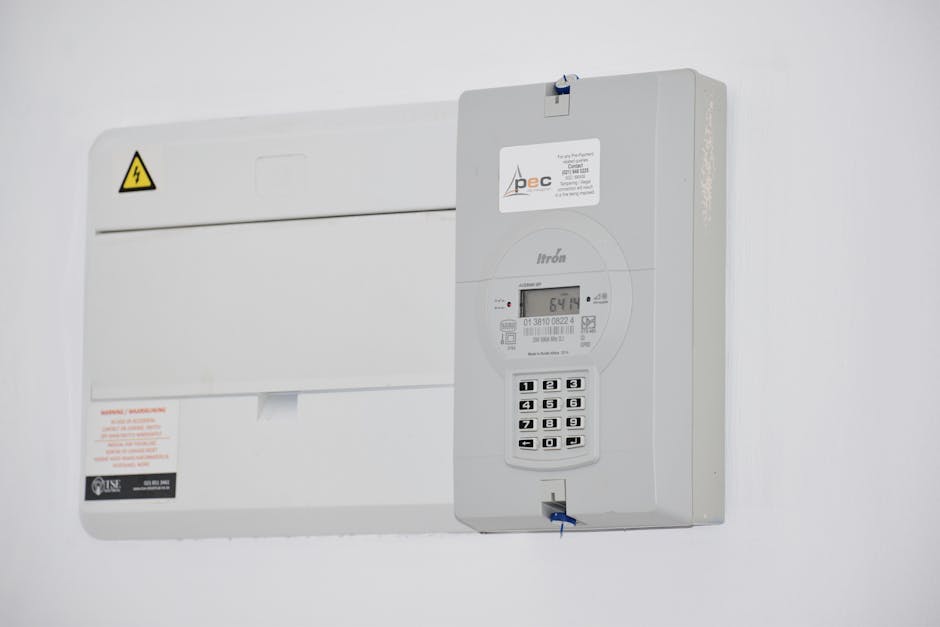
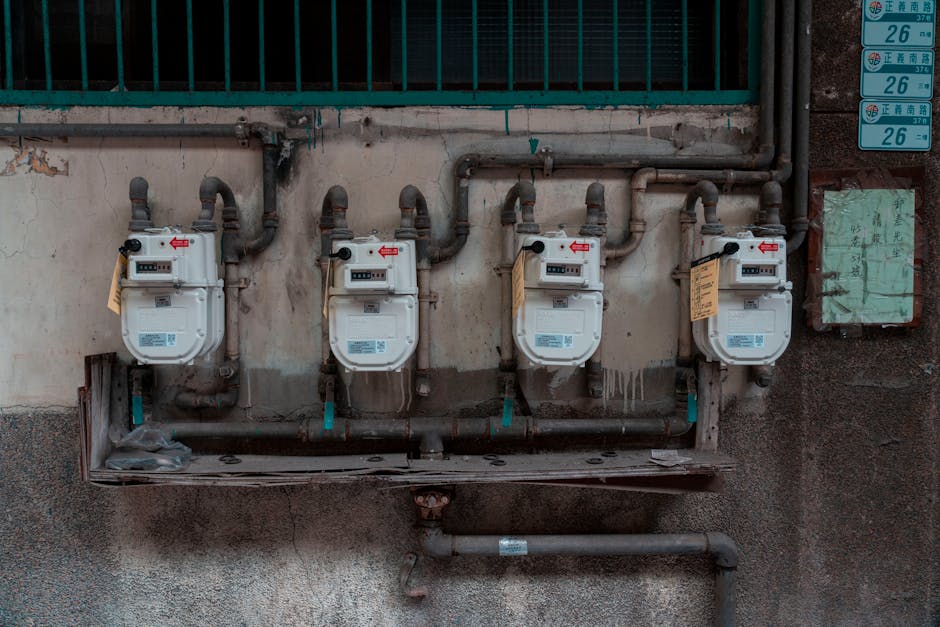
The Aeotec Home Energy Meter Z-Wave is a sophisticated energy monitoring device that tracks real-time power consumption across your entire home or individual circuits. Setting up this device involves installing the hardware on your electrical panel, adding it to your Z-Wave network through a compatible hub, and configuring the software to display energy data. Most users can complete the physical installation in 30-45 minutes, though the entire setup process including network integration typically takes 1-2 hours. The device provides accurate kilowatt-hour tracking, voltage monitoring, and power factor analysis, making it essential for homeowners who want detailed insights into their energy usage patterns in 2026. Before beginning installation, ensure you have a Z-Wave hub already configured, such as a SmartThings hub or Home Assistant setup, and that you’ve reviewed your electrical panel layout to identify the best installation location. The Aeotec meter supports up to 200 amps of monitoring capacity and works seamlessly with most modern smart home ecosystems.
Understanding the importance of energy monitoring cannot be overstated. According to the U.S. Environmental Protection Agency’s Energy Star program, households that actively monitor their energy consumption reduce usage by 10-15% on average. The Aeotec Home Energy Meter Z-Wave gives you the granular data needed to identify energy waste, optimize your power consumption, and make informed decisions about upgrades. Whether you’re concerned about rising electricity bills, planning to install solar panels, or simply want to understand your home’s energy profile, this device provides the foundation for smarter energy management. The Z-Wave protocol ensures reliable communication with your smart home hub even in homes with challenging RF environments, and the device’s compact design means it integrates seamlessly into most electrical panels without requiring significant modifications.
What Are the Pre-Installation Requirements for the Aeotec Home Energy Meter Z-Wave?
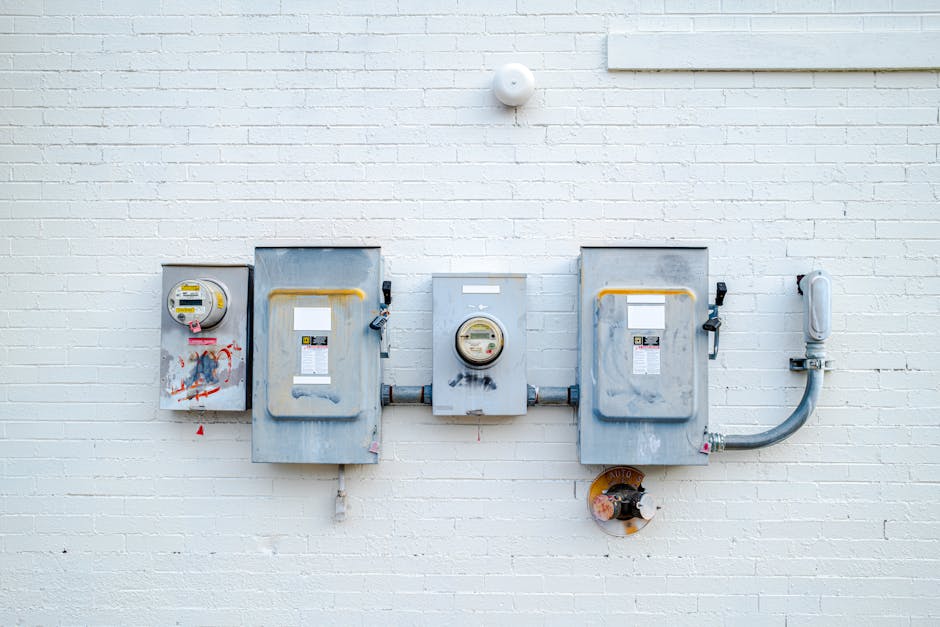
Before you begin installing your Aeotec Home Energy Meter Z-Wave, you must verify several critical prerequisites. First, confirm that you have a compatible Z-Wave hub already installed and operational. Compatible hubs in 2026 include SmartThings, Home Assistant with a Z-Wave USB stick, Hubitat Elevation, and Vera Plus. Second, ensure your electrical panel has adequate space for the device. The Aeotec meter requires two adjacent breaker slots or can be installed as a clip-on device depending on your panel type. Third, verify that your home’s electrical service supports the monitoring capabilities—the device works with standard North American 120/240V single-phase service.
Safety considerations are paramount when working with electrical panels. If you’re uncomfortable working inside your electrical panel, hire a licensed electrician to perform the installation. Most electricians can install the Aeotec meter in 1-2 hours for a service call fee of $100-300. You’ll also need basic tools: a screwdriver (typically Phillips head), wire strippers, and potentially a voltage tester to verify the panel is de-energized before work begins. Download the latest Aeotec documentation from the manufacturer’s website to confirm compatibility with your specific panel model. Additionally, review your homeowner’s insurance policy—some policies require licensed electrician installation for panel modifications, and documentation of professional installation protects your coverage.
Network preparation is equally important. Ensure your Z-Wave hub is positioned within 30 feet of your electrical panel for optimal signal strength. If your panel is in a basement or garage far from your hub, consider adding a Z-Wave repeater device to extend range. Test your Z-Wave network connectivity before installation to confirm reliable communication. Finally, inform your utility company if required by local regulations—some areas require notification when adding monitoring equipment to your meter service.
How Do You Physically Install the Aeotec Home Energy Meter Z-Wave Device?
Physical installation of the Aeotec Home Energy Meter Z-Wave requires careful attention to safety and proper technique. Begin by turning off the main breaker to your electrical panel and verifying with a voltage tester that power is completely de-energized. Wait at least five minutes after cutting power to allow any residual charge to dissipate. Never work on an energized panel—this is a serious electrical hazard.
Installation Steps for Breaker Slot Configuration
If your panel uses the breaker slot method, remove the two breaker slots where you plan to install the meter. The Aeotec device occupies the space of two standard breakers. Carefully slide the meter into the vacant slots, ensuring the metal contacts on the back of the device make full contact with the bus bar. The device should sit flush with the panel face. Secure the device using the provided mounting brackets and screws. Do not force the device into place—if it doesn’t slide smoothly, check for obstructions or misalignment.
Installation Steps for Clip-On Configuration
For panels that support clip-on installation, the Aeotec meter attaches to the main service lugs using provided clamps. Position the device around the main service lines, ensuring the current transformer clamps align with the hot lines you want to monitor. Tighten the clamps securely but do not over-tighten, as this can damage the internal components. The clip-on method is less invasive and doesn’t require removing breaker slots.
Wire Connections
After the device is physically secured, connect the neutral and ground wires as specified in the Aeotec manual. These connections are typically made to the neutral bar and ground bar in your panel. Use appropriately gauged wire (usually 10 AWG or larger) and secure connections with the provided terminals. Double-check all connections before re-energizing the panel. Once all connections are verified, restore power by switching the main breaker back on. The Aeotec meter should power up immediately—you should see indicator lights confirming operation.
How Do You Add the Aeotec Home Energy Meter Z-Wave to Your Network?
After physical installation is complete, you must add the device to your Z-Wave network through your hub. This process, called “inclusion,” allows your hub to recognize and communicate with the Aeotec meter. The specific steps vary depending on your hub type, but the general process is similar across platforms.
SmartThings Hub Inclusion Process
Open the SmartThings mobile app and navigate to the “Add Device” or “Add Thing” section. Select “Scan Nearby” or “Add Manually” depending on your app version. The hub will enter pairing mode and search for new Z-Wave devices within range. On the Aeotec meter, press the inclusion button (typically located on the device face or accessible through the panel) three times rapidly. The hub should detect the device within 30 seconds. Once detected, the app will prompt you to name the device and assign it to a room. Name it something descriptive like “Home Energy Meter” or “Main Panel Monitor.” After naming, the device is added to your network and ready for configuration.
Home Assistant Inclusion Process
If you’re using Home Assistant with a Z-Wave USB stick, open the Home Assistant interface and navigate to Settings > Devices & Services > Z-Wave JS. Click “Start Inclusion” to activate pairing mode on your hub. Then press the inclusion button on the Aeotec meter three times rapidly. Home Assistant will detect the device and add it to your Z-Wave network. The device will appear in your Z-Wave JS dashboard with a unique node ID. You may need to configure entity mappings to display energy data in your Home Assistant dashboard.
Hubitat Elevation Inclusion Process
On your Hubitat hub, navigate to the “Devices” page and click “Add Device.” Select “Z-Wave” as the device type and click “Scan.” The hub enters pairing mode for 30 seconds. Press the inclusion button on the Aeotec meter three times. Once detected, Hubitat will prompt you to select the device driver. Choose “Aeotec Home Energy Meter” or a compatible generic Z-Wave meter driver. Complete the setup by assigning the device to a location and naming it appropriately.
Troubleshooting Inclusion Failures
If your hub doesn’t detect the Aeotec meter, first verify the device is powered (check for indicator lights). Move your hub closer to the panel temporarily to strengthen the Z-Wave signal. Ensure your hub’s Z-Wave radio is functioning by including another Z-Wave device first. If the meter still won’t pair, try a factory reset: press and hold the inclusion button for 10 seconds until the device blinks rapidly. Wait 30 seconds and attempt inclusion again. If problems persist, consult the Aeotec support documentation or contact their customer service team.
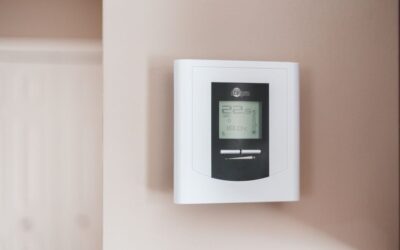
How Do You Configure and Calibrate the Aeotec Home Energy Meter Z-Wave?
Once your Aeotec meter is added to your Z-Wave network, configuration is essential for accurate readings. Most configuration happens through your hub’s interface, though some advanced settings may require direct device interaction.
Basic Configuration Settings
In your hub’s device settings, you’ll typically find options to configure reporting intervals (how frequently the device sends data to your hub), voltage threshold alerts, and power consumption thresholds. Set the reporting interval to match your needs—every 30 seconds provides real-time data but increases network traffic, while every 5 minutes reduces traffic but provides less granular information. For most users, a 1-2 minute reporting interval offers a good balance. Configure voltage alerts if you want notifications when voltage drops below or rises above safe levels (typically 110V-130V for 120V circuits).
Calibration for Accuracy
To ensure accurate energy readings, calibrate the device against your utility meter. Turn off all major appliances and note the reading on both your utility meter and the Aeotec device. They should be very close. If there’s a significant discrepancy (more than 5%), check your installation—improper current transformer clamp positioning is the most common cause. Ensure clamps are centered on the wires and tightened securely. Some Aeotec models include a calibration factor adjustment in the device settings; consult your manual for the specific procedure if readings remain inaccurate.
Configuring Multi-Circuit Monitoring
If your Aeotec meter supports multi-circuit monitoring (some models include multiple current transformer inputs), configure each circuit separately. Label each input in your hub interface to match your panel layout—for example, “Kitchen Outlets,” “Master Bedroom,” “HVAC System.” This labeling makes it easy to identify which circuits consume the most energy and helps you spot unusual consumption patterns.
How Do You Monitor and Interpret Aeotec Home Energy Meter Data?
After successful setup, your Aeotec meter provides valuable energy consumption data through your smart home hub. Understanding how to interpret this data helps you make informed decisions about energy efficiency.
Key Metrics Explained
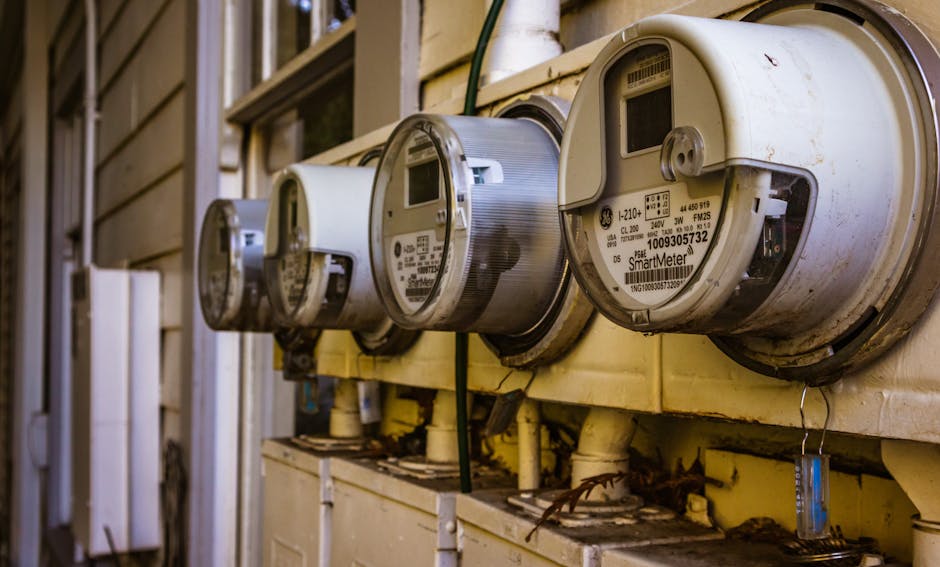
Your Aeotec meter displays several important metrics. Real Power (Watts) shows instantaneous power consumption—this number fluctuates as you use appliances. Cumulative Energy (kWh) tracks total energy consumed over time; this is what your utility company uses to calculate your bill. Voltage (Volts) indicates the electrical potential at your service entrance; normal range is 110-130V per leg. Power Factor measures efficiency; values below 0.9 suggest reactive loads (motors, compressors) dominating your consumption. Amperage (Amps) shows current draw; knowing your peak amperage helps you understand if you’re approaching your service capacity.
Creating Energy Reports
Most hubs allow you to view historical energy data through dashboards or reports. SmartThings provides basic graphing in the app. Home Assistant offers more sophisticated visualization through community-created energy dashboards. Hubitat includes built-in graphing capabilities. Use these tools to identify consumption patterns—notice if certain times of day or seasons show elevated usage. Compare your data to your utility bills to verify accuracy. If you need detailed CSV exports for analysis, many hubs support data export functionality, which aligns with the complete guide to downloading home energy data in CSV format.
Identifying Energy Waste
Use your Aeotec meter to spot energy waste. If your meter shows high consumption during times when you’re away from home, investigate phantom loads from always-on devices. If specific circuits show unexpectedly high usage, check for malfunctioning appliances. Compare your consumption to similar homes in your climate zone—the U.S. Energy Information Administration provides average consumption benchmarks. If your usage is significantly higher, your meter helps pinpoint the problem areas.
How Do You Troubleshoot Common Aeotec Home Energy Meter Z-Wave Issues?
Even with proper installation, you may encounter occasional issues. Understanding common problems and solutions helps you resolve them quickly.
Device Loses Connection to Network
If your Aeotec meter frequently disconnects from your Z-Wave network, the most likely cause is weak signal strength. Install a Z-Wave repeater device between your hub and the meter to strengthen the connection. Repeaters are inexpensive ($25-50) and significantly improve network reliability. Alternatively, move your hub closer to your electrical panel temporarily to test if distance is the issue. If the meter stays connected when the hub is nearby, a repeater is the solution.
Inaccurate Energy Readings
Inaccurate readings usually indicate improper current transformer installation. Verify that the clamps are centered on the wires and tightened securely. Check that you’re monitoring the correct wires—if you’re only monitoring one leg of a split-phase service, you’ll get incomplete data. Consult your Aeotec manual for the specific calibration procedure for your model. Some devices allow calibration adjustments through the hub interface.
Device Won’t Include in Network
If the meter won’t pair with your hub despite multiple attempts, perform a factory reset. Press and hold the inclusion button for 10 seconds until lights blink rapidly. Wait 30 seconds and attempt pairing again. If this doesn’t work, verify your hub’s Z-Wave radio is functioning by attempting to pair a different Z-Wave device. Check that your hub firmware is current—outdated firmware sometimes causes compatibility issues. If problems persist, contact Aeotec customer support with your hub model and firmware version.
Data Not Appearing in Hub Dashboard
If the meter is included in your network but data doesn’t appear in your hub’s interface, the device driver may not be correctly selected. In your hub settings, verify the Aeotec meter is assigned the correct device type driver. Some hubs require manually selecting “Aeotec Home Energy Meter” or a compatible generic meter driver. After selecting the correct driver, the device may need to report data once before values appear in your dashboard. Wait 2-3 minutes and refresh your hub interface.
How Do You Integrate the Aeotec Home Energy Meter with Your Broader Smart Home System?
The Aeotec meter becomes most valuable when integrated with other smart home devices and automation routines. This integration enables sophisticated energy management strategies.
Creating Energy-Based Automations
Use your meter’s data to trigger smart home actions. For example, if your meter detects that consumption has dropped below 500 watts (indicating you’ve left home), automatically arm your security system and adjust your thermostat. If consumption spikes above 5000 watts (suggesting multiple high-draw appliances running simultaneously), send you a notification to prevent breaker trips. These automations require your hub to support conditional logic based on power readings—Home Assistant and Hubitat both support this functionality natively.
Coordinating with Solar or Battery Systems
If you’re planning to install solar panels or a home battery system, your Aeotec meter provides essential baseline data. Energy monitoring helps you determine the optimal solar system size and battery capacity for your home. This aligns with strategies for avoiding electrical panel upgrades by understanding your true power requirements. With accurate consumption data, you can right-size your renewable energy system without over-investing.
Smart Appliance Integration
Combine your Aeotec meter with smart thermostats, smart water heaters, and smart EV chargers for comprehensive energy management. Your meter shows which appliances consume the most energy, and you can prioritize smart upgrades accordingly. For instance, if your water heater consumes 20% of your daily energy, installing a smart water heater with scheduling capabilities could yield significant savings. This approach aligns with building a smart home step by step, where energy monitoring informs all subsequent device selections.
How Do You Maintain and Update Your Aeotec Home Energy Meter Z-Wave?
Ongoing maintenance ensures your device continues operating accurately and securely.
Firmware Updates
Aeotec periodically releases firmware updates that improve functionality and fix bugs. Check your hub’s Z-Wave device list monthly for available updates. Most hubs allow one-click firmware updates directly through the interface. Before updating, ensure your hub is stable and your Z-Wave network is functioning properly. Updates typically take 5-10 minutes. After updating, verify that your energy readings continue to display correctly.
Regular Data Verification
Compare your Aeotec readings to your utility bills quarterly. Your cumulative kWh reading should closely match your utility meter. If discrepancies develop over time, recalibrate the device or check for loose connections. Seasonal variations are normal—heating or cooling seasons typically show increased consumption.
Network Health Monitoring
Monitor your Z-Wave network health through your hub’s interface. If your Aeotec meter shows as “Sleeping” or “Offline” frequently, address signal strength issues. A healthy Z-Wave network with your meter showing as “Active” or “Online” ensures reliable data transmission. If network problems develop, consider adding a Z-Wave repeater to improve reliability.
Frequently Asked Questions
Can I Install the Aeotec Home Energy Meter Z-Wave Myself Without an Electrician?
You can install it yourself if you’re comfortable working inside electrical panels and understand safety procedures. However, many homeowners hire electricians for safety and insurance compliance. If you’re unsure about any step, consult a licensed electrician. The installation itself typically takes 30-45 minutes for someone experienced with electrical work.
How Accurate Is the Aeotec Home Energy Meter Z-Wave Compared to My Utility Meter?
Accuracy is typically within 2-3% of utility meters when properly installed and calibrated. Variations can occur due to differences in measurement points and rounding. Compare readings over several billing cycles rather than daily to account for minor fluctuations. If accuracy is critical for solar system sizing or other applications, verify calibration against your utility meter.
What Z-Wave Hub Do You Recommend for Use with the Aeotec Home Energy Meter?
SmartThings, Home Assistant, Hubitat Elevation, and Vera Plus all work well with the Aeotec meter. SmartThings offers the easiest setup for beginners. Home Assistant provides the most customization options for advanced users. Hubitat offers excellent local control and privacy. Choose based on your technical comfort level and feature requirements. See the complete smart home hub setup guide for 2026 for detailed hub comparisons.
How Much Does It Cost to Install the Aeotec Home Energy Meter Z-Wave?
The device itself costs $80-150 depending on the model. If you hire an electrician, expect $100-300 for installation labor. Total cost ranges from $180-450 for a professional installation, or $80-150 if you install it yourself. The investment typically pays for itself within 1-2 years through energy savings achieved by identifying consumption patterns and reducing waste.
Can the Aeotec Home Energy Meter Monitor Individual Circuit Breakers?
Standard Aeotec models monitor total home consumption. Some advanced models support multiple current transformer inputs for circuit-level monitoring, but these are more expensive ($200+). For circuit-level monitoring on a budget, consider installing individual smart outlets or smart breakers on high-consumption circuits. This approach provides detailed data without the expense of multi-circuit monitoring hardware.
Will the Aeotec Home Energy Meter Work with My Existing Smart Home Setup?
The Aeotec meter is compatible with any Z-Wave hub. If you already have a SmartThings, Home Assistant, Hubitat, or similar hub, the meter will integrate seamlessly. Check your hub’s device compatibility list to confirm Z-Wave support. If your current hub doesn’t support Z-Wave, you’ll need to add a Z-Wave stick or upgrade to a hub with built-in Z-Wave radio.
Is the Aeotec Home Energy Meter Z-Wave Setup Worth the Effort in 2026?
The Aeotec Home Energy Meter Z-Wave is absolutely worth installing in 2026. Energy costs continue rising, and understanding your consumption patterns is the first step toward meaningful savings. The device provides data that drives smarter decisions about appliance upgrades, renewable energy investments, and daily energy habits. For homeowners planning any significant electrical upgrades—whether EV chargers, heat pumps, or solar systems—the baseline consumption data from an energy meter is invaluable. This aligns with the broader smart home ecosystem, where energy monitoring complements other smart devices and automations to create a more efficient, responsive home.
The installation process, while requiring some electrical knowledge or professional help, is straightforward and the device operates reliably for years with minimal maintenance. The Z-Wave protocol ensures compatibility with most modern smart home hubs, preventing vendor lock-in. Whether you’re just starting to build a smart home on a small budget or expanding an existing system, energy monitoring should be one of your early priorities. The insights you gain from real-time consumption data pay dividends through reduced utility bills, informed upgrade decisions, and the ability to track the impact of energy-saving measures over time.
For those serious about home automation, the Aeotec meter becomes the foundation of an intelligent energy management system. Combined with smart thermostats, smart outlets, and automated lighting, it enables sophisticated routines that optimize comfort while minimizing consumption. The data export capabilities allow you to download historical information for detailed analysis, supporting long-term energy planning. If you’re committed to understanding and reducing your home’s energy footprint, the Aeotec Home Energy Meter Z-Wave is one of the most impactful investments you can make in your smart home infrastructure.


Write Your Review
No reviews yet. Be the first to share your experience!