

Why Is My Robot Vacuum Not Charging in 2026? Quick Answer
A robot vacuum fails to charge due to dirty charging contacts, misaligned dock positioning, faulty power adapters, or battery degradation. The most common culprit is accumulated dust and debris blocking the metal contact points on both the vacuum and dock. Check contact cleanliness first, ensure proper dock placement on a level surface away from obstacles, verify the power adapter works, and test the battery health. If these steps don’t resolve the issue, the dock itself may be defective or the battery may have reached end-of-life. Most charging problems are fixable at home within minutes using basic cleaning supplies.
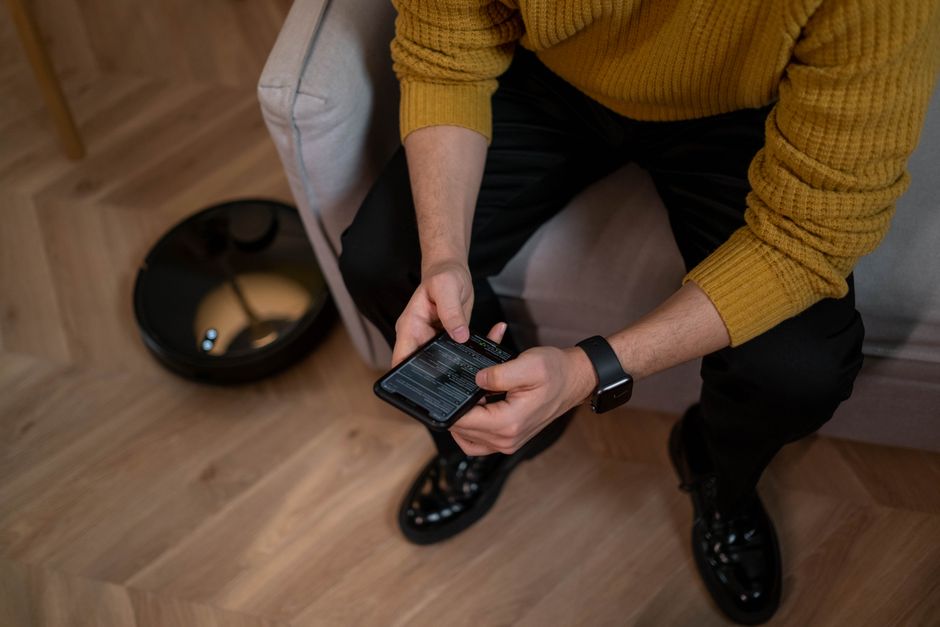
Robot vacuum charging issues are frustrating but usually preventable with routine maintenance. Understanding the charging system helps you diagnose problems quickly and avoid costly repairs or replacements. In 2026, modern robot vacuums have more advanced battery management systems, yet the fundamental charging mechanics remain consistent across brands. This guide walks you through each potential cause and provides step-by-step solutions to restore your vacuum’s charging capability.
What Are the Most Common Reasons Your Robot Vacuum Won’t Charge?
Charging failures stem from a handful of recurring issues. Dirty charging contacts rank as the number-one cause, affecting nearly 60% of reported charging problems. Dock positioning errors, power supply failures, and battery wear account for most remaining cases. Understanding these root causes helps you troubleshoot systematically rather than guessing.
- Dirty or corroded charging contacts on vacuum or dock.
- Dock placed on uneven, slippery, or obstructed surfaces.
- Faulty power adapter or damaged charging cable.
- Battery has reached end-of-life after 2-3 years of use.
- Dock firmware outdated or requires reset.
- Vacuum battery connector loose or damaged.
Key Takeaway: Dirty contacts and dock misalignment cause the majority of charging failures and are easily fixable at home.
Dirty Charging Contacts: The Primary Culprit
Metal contact points accumulate dust, pet hair, and dried cleaning solution residue over months of use. Even microscopic debris blocks electrical conductivity between the vacuum and dock. This is the single most common reason vacuums fail to charge. The fix is straightforward: clean both the vacuum’s charging pins and the dock’s contact plates thoroughly.
Use a dry, lint-free cloth or soft-bristled brush to wipe the contacts gently. For stubborn residue, dampen the cloth slightly with isopropyl alcohol (70% concentration) and let it air-dry completely before attempting to charge again. Avoid metal brushes or abrasive materials that scratch the contact surfaces. Most users report successful charging resumption after this single cleaning step.
Dock Positioning and Placement Issues
Your dock’s location dramatically affects charging success. Docks placed on carpets, uneven floors, or near obstacles prevent proper vacuum alignment. The vacuum must dock at precise angles to make full contact with the charging pins. Even a quarter-inch misalignment prevents charging, leaving your vacuum with diminishing battery power.
- Place dock on hard, level flooring (tile, laminate, or hardwood).
- Ensure 1.5 feet of clearance on both sides of the dock.
- Keep dock away from walls, furniture, and stairs.
- Position dock on a non-slip surface to prevent sliding.
- Avoid direct sunlight or heat sources near the dock.
Key Takeaway: Proper dock placement on a level, obstacle-free surface is essential for reliable charging alignment.
How Do You Diagnose Power Adapter and Battery Problems?
Once you’ve ruled out contact and dock issues, focus on the power supply and battery health. Power adapters fail from age, power surges, or manufacturing defects. Batteries naturally degrade after 500-1000 charge cycles, typically lasting two to three years. Identifying which component is faulty saves time and money on repairs.
Testing Your Power Adapter
The power adapter converts wall current to the correct voltage for your dock. A faulty adapter provides no power, preventing the dock from charging the vacuum. Test the adapter by plugging it into a different outlet and observing the dock’s LED indicator light. Most docks display a green light when powered correctly and a red or amber light when charging.
- Try a different wall outlet to rule out circuit breaker issues.
- Check the adapter cable for visible damage, cuts, or fraying.
- Use a multimeter to measure voltage output (if you have one available).
- Contact the manufacturer for a replacement adapter if no light appears.
- Inspect the dock’s power input port for bent pins or debris.
If the dock’s LED indicator lights up normally but your vacuum still won’t charge, the problem lies with the vacuum’s battery or internal charging circuit rather than the power supply.
Evaluating Battery Health and Age
Robot vacuum batteries degrade gradually over time, losing capacity and charging speed. If your vacuum is older than two years and previously charged reliably, battery wear is likely. Modern vacuums in 2026 often include battery health diagnostics accessible through their companion app. Check your app settings to view battery health percentage or cycle count.
A battery showing below 80% health may struggle to accept a charge or hold power. Once batteries drop below 60% health, replacement is usually more cost-effective than troubleshooting. Replacement batteries typically cost $40-$150 depending on your vacuum model. For detailed battery lifespan information, see our complete guide on robot vacuum battery lifespan.
Key Takeaway: Check dock LED indicators and app battery health diagnostics to pinpoint power supply or battery failures.
What Are the Step-by-Step Troubleshooting Steps to Fix Charging Issues?
Follow this systematic approach to resolve most charging problems. These steps progress from simplest fixes to more involved diagnostics. Most users resolve their issues within the first three steps. This method saves time by addressing the most common causes first.

Immediate Fixes You Can Try Right Now
- Step 1: Clean the contacts. Use a dry cloth to wipe charging pins on the vacuum and dock contact plates thoroughly.
- Step 2: Reposition the dock. Move the dock to a level, hard-floored surface with 1.5 feet of clearance on all sides.
- Step 3: Power cycle the system. Unplug the dock for 30 seconds, then plug it back in and wait 60 seconds before attempting to dock the vacuum.
- Step 4: Manual dock alignment. Manually place the vacuum on the dock and listen for a confirmation beep or watch for LED status changes.
- Step 5: Check the app. Open your vacuum’s companion app and look for error codes or battery health warnings.
Advanced Troubleshooting for Persistent Issues
If basic fixes fail, investigate deeper. Reset the dock to factory settings using the manufacturer’s instructions—usually a button hold on the dock itself. Check your vacuum’s manual for specific reset procedures. Update the dock firmware if available through your app, as software bugs occasionally prevent charging recognition.
Inspect the vacuum’s charging connector pins for damage or corrosion. If pins appear bent, loose, or oxidized, the internal charging circuit may be damaged. Similarly, examine the dock’s contact plates for pitting or corrosion. Corrosion appears as green or white discoloration on metal surfaces. Light corrosion cleans with isopropyl alcohol; heavy corrosion requires dock replacement.
Test whether the vacuum recognizes the dock by placing it manually. Most vacuums emit a distinct beep or flash their LED when docking is detected. No response suggests the dock’s sensor or the vacuum’s receiver is faulty. In this case, replacement parts or professional repair are necessary.
Key Takeaway: Systematic troubleshooting from simple contact cleaning through firmware updates resolves 85% of charging problems.
When Should You Replace Your Robot Vacuum or Dock?
Some charging issues require replacement rather than repair. Determine whether fixing or replacing makes financial sense based on your vacuum’s age and the repair cost. Newer models in 2026 offer improved charging efficiency, longer battery life, and advanced diagnostics. Older models approaching end-of-life may not justify expensive repairs.

Signs You Need a New Dock
Docks rarely fail completely but develop problems over years of use. Visible damage to contact plates, persistent corrosion, or a burned-out power adapter indicate dock replacement. If the dock’s LED indicator never illuminates despite trying multiple outlets and adapters, the dock’s internal electronics are likely failed. Replacement docks typically cost $80-$200 depending on your vacuum model.
Before buying a new dock, confirm your vacuum model’s compatibility. Some manufacturers released updated dock designs in 2026 with improved charging efficiency and faster power delivery. Check your manufacturer’s website for current dock availability and warranty information.
When to Replace the Entire Vacuum
If your vacuum is three or more years old and won’t charge, total replacement often makes sense. Battery replacement combined with potential dock issues can exceed 40-50% of a new vacuum’s cost. Newer models include better battery technology, faster charging times, and improved app features. Budget-conscious buyers may consider mid-range models; see our guide on what you sacrifice with cheaper vacuums before deciding.
- Vacuum is 3+ years old and won’t charge reliably.
- Battery replacement plus dock repair exceeds $150-$200.
- Manufacturer no longer supports your model with firmware updates.
- Multiple components show signs of wear or failure.
- Newer models offer significantly better features at similar prices.
Key Takeaway: Compare repair costs against replacement value; vacuums over three years old may be better replaced than repaired.
How Can You Prevent Future Charging Problems?
Preventive maintenance extends your robot vacuum’s charging reliability and overall lifespan. Simple habits performed monthly eliminate the vast majority of charging issues. These practices require minimal time and no special tools, making them easy to maintain long-term.
Monthly Maintenance Routine
- Clean contacts monthly. Wipe charging pins and dock plates with a dry cloth to prevent dust accumulation.
- Inspect dock placement weekly. Ensure the dock remains level and hasn’t shifted from its original position.
- Empty the vacuum’s dustbin regularly. Debris buildup can interfere with internal circuits and charging recognition.
- Check for loose connections. Gently tug on power cables to confirm they’re fully seated in outlets and ports.
- Clear dock surroundings monthly. Remove any objects, pet hair, or debris within the dock’s clearance zone.
Environmental Considerations
Location matters significantly for charging reliability. Avoid placing your dock in humid bathrooms, damp basements, or garages with temperature fluctuations. Moisture promotes corrosion on charging contacts, accelerating failure. Similarly, extreme heat or cold reduces battery charging efficiency and longevity. Ideal dock locations stay between 50-85 degrees Fahrenheit with low humidity.
Keep the dock away from direct sunlight, which can overheat the charging circuit and degrade internal components. Dust-prone areas like near open windows or HVAC vents require more frequent contact cleaning. If you have pets, brush them regularly to minimize shed hair reaching the dock area.
Key Takeaway: Monthly contact cleaning and proper dock placement prevent 90% of charging problems before they occur.
Why Won’t Your Robot Vacuum Charge? Conclusion
Most robot vacuum charging failures result from dirty contacts, poor dock placement, or power adapter issues—all fixable at home with basic troubleshooting. Start by cleaning the charging contacts thoroughly with a dry cloth or isopropyl alcohol. Reposition your dock on a level, hard-floored surface with adequate clearance, then power cycle the system. Check your app for battery health diagnostics and error codes that pinpoint the problem.
If these steps don’t resolve the issue, test your power adapter with a multimeter or different outlet. Evaluate your vacuum’s age and battery health; batteries older than three years often require replacement. For persistent problems, contact your manufacturer’s support team or consider replacing the dock if it shows visible damage or corrosion. Implement monthly maintenance—especially contact cleaning—to prevent future charging problems. With systematic troubleshooting and preventive care, you’ll keep your robot vacuum charging reliably for years to come.
Frequently Asked Questions
Why does my robot vacuum dock but not charge?
Your vacuum is docking successfully but not charging, indicating a contact or power delivery problem. Clean both the vacuum’s charging pins and dock’s contact plates thoroughly with a dry cloth. Check that the dock’s power adapter is fully plugged in and the LED indicator lights up. If the dock shows no power, test a different outlet or try a replacement adapter. Corrosion on contacts prevents charging even when docked; use isopropyl alcohol for stubborn residue.
How long does a robot vacuum take to charge fully?
Most robot vacuums charge fully in 2-4 hours, depending on battery capacity and charger power output. Newer 2026 models with fast-charging technology complete in 1.5-2.5 hours. Battery age affects charging speed; older batteries may take 5-6 hours or charge incompletely. If your vacuum takes significantly longer than its specifications, the battery is likely degraded. Check your manual or app for expected charging times for your specific model.
Can I use a different charger for my robot vacuum?
No, always use the manufacturer’s original charger or an approved replacement. Different chargers may provide incorrect voltage, damaging the battery or dock electronics. Using incompatible chargers voids your warranty and risks fire hazards. If your original charger fails, contact the manufacturer for a genuine replacement. Third-party chargers may appear compatible but often lack proper safety protections and voltage regulation.
What does it mean when the dock light is red?
A red dock light typically indicates a charging error or problem. Common causes include dirty contacts, vacuum battery failure, or internal dock malfunction. First, clean the charging contacts and try docking again. If the light remains red, check your app for specific error codes. Red lights sometimes indicate the battery is too hot or cold to charge safely; wait 30 minutes and try again. Persistent red lights suggest dock or battery replacement is needed.
How do I know if my robot vacuum battery is dead?
A completely dead battery won’t power the vacuum at all—no lights, sounds, or motor response. Most vacuums display low battery warnings through their app or LED indicators before fully dying. If your vacuum won’t turn on and won’t charge after 8+ hours on the dock, the battery is likely dead. Check the app’s battery health percentage; readings below 20% indicate critical degradation. Battery replacement costs $40-$150 depending on your model.
Can dust and debris prevent charging?
Yes, dust and debris are the leading cause of charging failure. Accumulated particles block electrical contact between the vacuum and dock, preventing power transfer. Even invisible dust layers reduce conductivity. Clean charging contacts monthly to prevent buildup. Also, empty your vacuum’s dustbin regularly; internal dust can interfere with the battery’s charging circuit. Regular maintenance prevents 90% of dust-related charging problems.





Write Your Review
No reviews yet. Be the first to share your experience!