

How Do You Install CT Clamps Energy Monitor for Home Energy Tracking?
Installing CT clamps energy monitors in 2026 requires careful attention to safety and proper placement on your electrical circuits to accurately measure power consumption. CT clamps, or current transformer clamps, are non-invasive devices that measure electrical current flowing through wires without requiring direct circuit interruption. The key to successful installation is identifying the correct circuits, ensuring proper clamp orientation, and securely fastening the devices to the appropriate wires in your electrical panel. Most installations take 30 minutes to 2 hours depending on the number of circuits you’re monitoring. The primary advantage is gaining real-time visibility into which appliances and circuits consume the most energy, enabling you to make informed decisions about energy reduction and cost savings. Proper installation ensures accurate readings and prevents potential electrical hazards. Before beginning any work, turn off power to the circuits you’ll be monitoring and follow all manufacturer guidelines specific to your energy monitoring system.
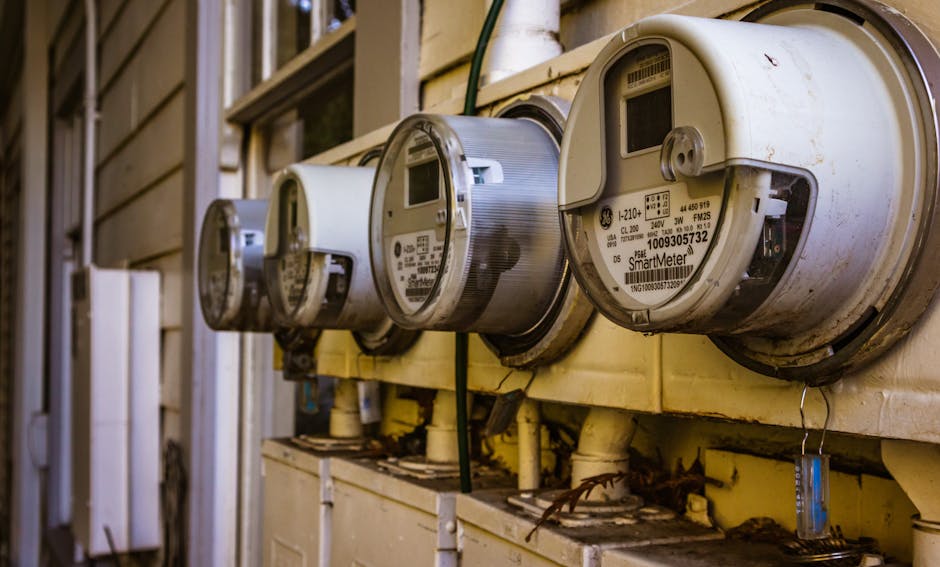
CT clamps have become increasingly popular in smart home setups because they provide granular energy data without expensive electrical panel modifications. Unlike traditional whole-home energy monitors that only measure total consumption, CT clamps allow you to track individual circuits or appliances, making it easier to identify energy vampires and optimize usage patterns. In May 2026, most modern energy monitoring systems integrate with home automation platforms, allowing you to automate responses based on energy consumption data. Understanding how to properly install these devices is essential for anyone looking to build a comprehensive smart home energy management system.
What Are CT Clamps and How Do They Work in Energy Monitoring?
CT clamps, or current transformer clamps, are non-invasive sensors that measure alternating current flowing through electrical wires. The clamp wraps around a single wire—typically the hot wire in a circuit—and uses electromagnetic induction to detect current flow. Unlike traditional amp meters that require breaking the circuit, CT clamps simply clamp around the outside of the wire, making them safe for do-it-yourself installation. The clamp converts the current measurement into a proportional voltage signal that your energy monitoring hub can interpret and display.
These devices work based on Faraday’s law of electromagnetic induction. When current flows through a wire inside the clamp, it creates a magnetic field that induces a proportional voltage in the clamp’s secondary coil. This signal is then transmitted to your monitoring device, which calculates power consumption using voltage and current data. Most CT clamps are rated for specific current ranges—typically 50A, 100A, or 200A—so selecting the correct rating for your circuits is crucial for accurate measurements.
The primary advantage of CT clamps over other monitoring methods is that they require no electrical work inside your panel beyond clamping around existing wires. This makes them ideal for renters, homeowners who want to avoid hiring electricians, and anyone concerned about electrical safety. Understanding individual appliance signatures becomes much easier once you have multiple CT clamps installed and can differentiate energy patterns across circuits.
What Tools and Materials Do You Need for CT Clamp Installation?
Before starting your CT clamp installation, gather the following essential tools and materials:
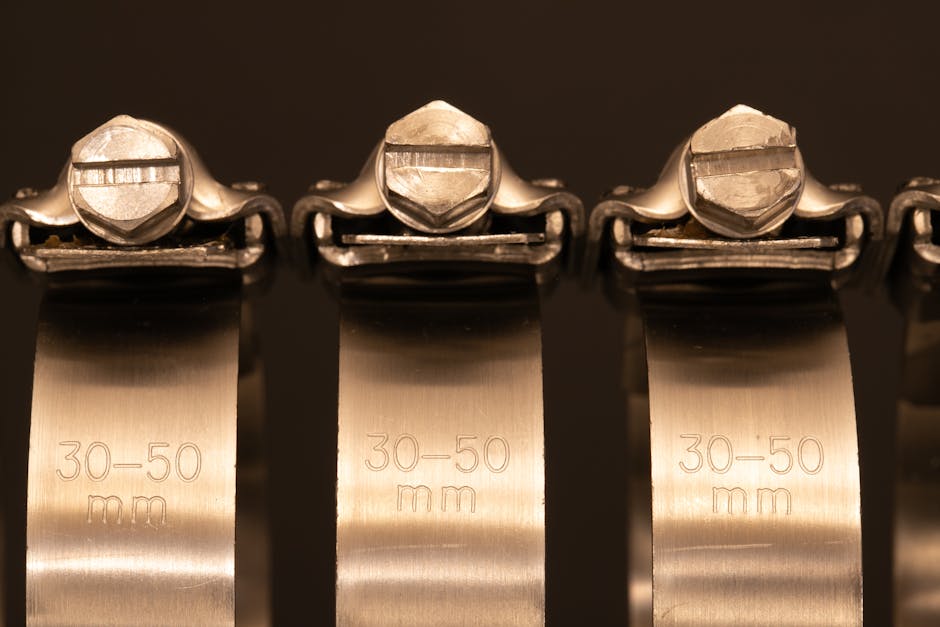
- CT clamps – Rated for your circuit amperage (50A, 100A, or 200A)
- Energy monitoring hub – Compatible with your CT clamps (Z-Wave, WiFi, or wired)
- Flashlight or headlamp – To see inside your electrical panel clearly
- Labeling tape and marker – To identify circuits and clamps
- Wire labels – To mark which clamp monitors which circuit
- Electrical tape – For securing clamp cables and organizing wires
- Cable clips or conduit – To route clamp cables safely away from other wires
- Multimeter (optional) – To verify circuit identification and voltage
- Non-contact voltage tester – To verify circuits are de-energized before work
Safety equipment is equally important. Wear insulated gloves rated for electrical work, safety glasses, and ensure you have adequate lighting in your electrical panel area. Keep a fire extinguisher nearby as a precaution, though modern electrical panels are well-protected. Have your energy monitor’s manual and any installation guides from the manufacturer readily available. If you’re unsure about any aspect of the installation, consult a licensed electrician rather than proceeding with uncertainty.
How Do You Safely Prepare Your Electrical Panel for CT Clamp Installation?
Preparing your electrical panel properly is the most critical step for safe CT clamp installation. First, take a photograph of your electrical panel’s breaker layout, including the labels on each breaker. This documentation helps you identify which circuits you want to monitor and serves as a reference if you need to troubleshoot later. Create a written list of all circuits and their purposes—kitchen outlets, bedroom lights, HVAC system, water heater, dryer, etc.
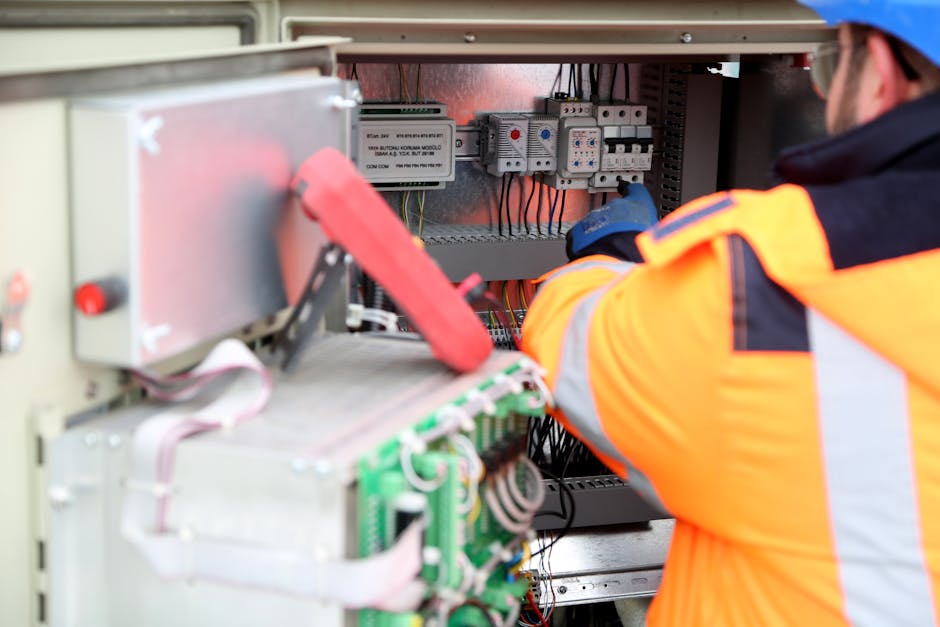
Next, turn off all the circuits you plan to monitor at their breakers. Use a non-contact voltage tester to verify that power is actually off at each breaker switch and the wires you’ll be working near. Test the device on a live circuit first to confirm it’s working properly, then test near your target wires. Never assume a circuit is off without verification. If your electrical panel has a main breaker, you may want to turn that off as well for additional safety, though this isn’t always necessary since you’re only clamping around wires, not breaking any connections.
Ensure you have adequate lighting in your panel area. Many electrical panels are located in basements or utility closets with poor lighting. Use a flashlight or headlamp to clearly see all wires and breaker labels. Never work in dim lighting when dealing with electrical systems. Allow time for your eyes to adjust to the panel’s interior. If your panel is in a confined space, ensure good ventilation and consider having someone nearby in case of emergency.
How Do You Identify and Select the Correct Circuits for Monitoring?
Identifying which circuits to monitor depends on your energy management goals. For comprehensive home energy tracking, prioritize circuits with the highest consumption: HVAC systems, water heaters, electric ranges, dryers, and electric vehicle chargers. If you want to reduce standby power and phantom loads, monitor circuits powering entertainment systems, office equipment, and always-on appliances.
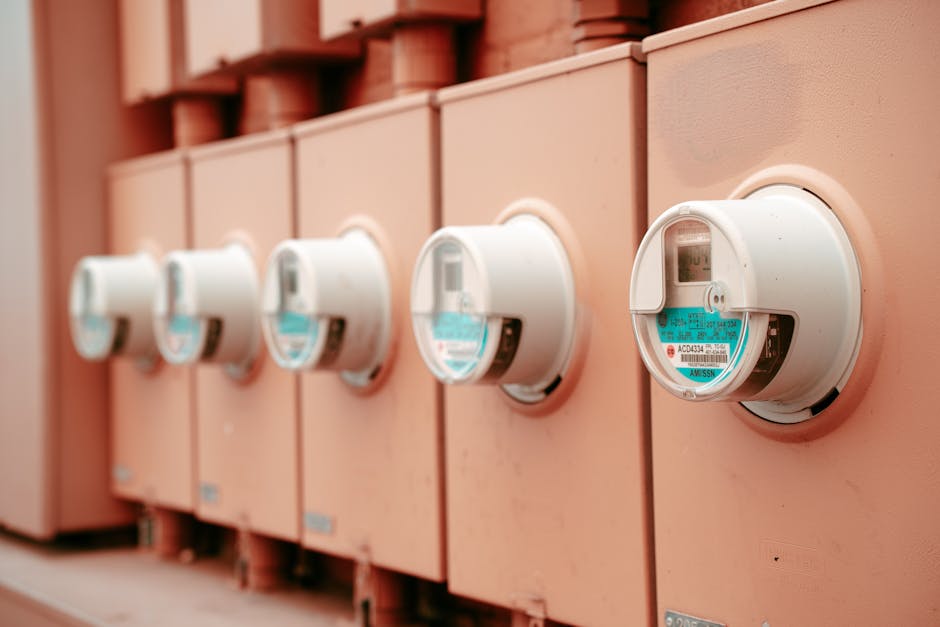
Start by mapping your electrical panel. Most modern panels have circuit labels, though older homes may have missing or inaccurate labels. Test each circuit by turning off breakers one at a time and identifying which outlets or appliances lose power. Document this information clearly. Once you know what each circuit powers, decide which ones provide the most valuable monitoring data.
Consider your CT clamp quantity and your monitoring hub’s capabilities. Most energy monitoring systems support between 6 and 16 clamps, depending on the model. If you have more circuits than clamp capacity, prioritize the highest-consumption circuits first. You can always add more clamps later as your system expands. For circuits with multiple appliances (like a kitchen circuit with several outlets), you’ll monitor the entire circuit’s consumption rather than individual appliances, though appliance signature identification techniques can help differentiate usage patterns.
Pay special attention to 240-volt circuits like dryers, ranges, and air conditioning units. These circuits have two hot wires, and you’ll need to clamp both wires to get accurate total consumption. Some monitoring systems require dual clamps for 240V circuits, while others have special dual-clamp configurations. Check your system’s documentation to understand how to properly monitor these higher-voltage circuits.
What Is the Step-by-Step Process for Installing CT Clamps on Your Wires?
Step 1: Position Your First Clamp
Locate the first circuit you want to monitor in your electrical panel. Identify the hot wire (typically the black or red wire) connected to that breaker. The wire should exit the breaker and run down into the panel toward the main bus or toward your home’s circuits. Position your CT clamp so it can wrap around this wire without obstruction. The clamp should sit as close to the breaker as practical, but ensure you have enough space to open and close the clamp mechanism comfortably.
Step 2: Open the Clamp and Position It
Most CT clamps have a hinged design that opens to allow the wire to pass through. Carefully open the clamp and slide it around the hot wire. Ensure the clamp is oriented correctly—most clamps have directional markings indicating the proper orientation for accurate readings. The clamp should surround the wire completely with no gaps between the clamp halves. Close the clamp firmly until you hear or feel a click, indicating it’s properly seated.
Step 3: Secure the Clamp Cable
Most CT clamps have a cable extending from them that connects to your energy monitoring hub. Route this cable safely away from other electrical wires and components. Use electrical tape or cable clips to secure the cable to the side of the panel, keeping it away from high-voltage areas and moving parts. Avoid coiling the cable tightly, as this can cause interference. The cable should have a gentle curve with no sharp kinks or bends.
Step 4: Label Everything
Use labeling tape and a permanent marker to clearly identify which clamp monitors which circuit. Write both the clamp number (Clamp 1, Clamp 2, etc.) and the circuit purpose (Kitchen Outlets, Master Bedroom, HVAC, etc.) on the label. Place labels on both the clamp itself and the corresponding breaker. This documentation is invaluable for troubleshooting and future reference. Take a photo of the labeled panel for your records.
Step 5: Repeat for Additional Circuits
Follow the same process for each additional circuit you want to monitor. Space the clamps appropriately to avoid crowding and ensure each cable can be routed safely. If you’re monitoring 240-volt circuits, clamp both hot wires and ensure your monitoring hub is configured to combine these readings for accurate total consumption.
Step 6: Route All Cables to Your Monitoring Hub
Once all clamps are installed, carefully route all cables from your electrical panel to your energy monitoring hub location. Use conduit or cable clips to keep cables organized and protected. Avoid running clamp cables alongside high-voltage power lines, as this can cause interference and inaccurate readings. If your hub is located far from your panel, use appropriate cable extensions rated for your system’s voltage and current specifications.
How Do You Connect Your CT Clamps to Your Energy Monitoring Hub?
Connection methods vary depending on your energy monitoring system. Most modern systems use one of three connection types: direct wired connections, Z-Wave wireless, or WiFi connectivity.
Wired Connection Systems
Wired systems typically have a central hub with multiple input ports for CT clamp cables. Each clamp cable plugs directly into a numbered port on the hub. Ensure you’re connecting each clamp to the correct port number corresponding to your labeling system. Most hubs have a clear diagram showing port assignments. Once all clamps are connected, plug the hub into power and allow it to boot up. Initialization typically takes 30-60 seconds. Check the hub’s display or mobile app to verify that all clamps are detecting current flow.
Wireless Z-Wave Systems
Z-Wave systems like the Aeotec Home Energy Meter Z-Wave require pairing each clamp with your Z-Wave hub. Start by powering on your Z-Wave hub and putting it into pairing mode (instructions vary by manufacturer). Then power on each CT clamp device and initiate pairing mode on each one. The hub should discover and add each clamp to your Z-Wave network. Once paired, configure each clamp in your system’s mobile app, assigning it a name and circuit location. Test each clamp to ensure it’s reporting current data correctly.
WiFi-Connected Systems
WiFi-based energy monitors connect directly to your home network. Connect your hub to WiFi following the manufacturer’s instructions, typically through a mobile app or web interface. Add each CT clamp to the system, assigning it to the correct circuit. WiFi systems often provide the most user-friendly interfaces and can send data to cloud services for remote monitoring and historical analysis.
How Do You Verify Your CT Clamp Installation Is Working Correctly?
After installation, verify that all clamps are functioning properly and reporting accurate data. Start by checking your monitoring hub’s display or mobile app. Each clamp should show current flow in watts or kilowatts. If a clamp shows zero watts when the circuit should be drawing power, troubleshoot that specific clamp.
Turn on a high-power device on the monitored circuit—like a hair dryer, space heater, or microwave—and watch the clamp’s reading increase. The increase should be proportional to the appliance’s rated power consumption. A 1500W space heater should show approximately 1500W on the clamp reading. If the reading is significantly off, the clamp may be installed backwards, not fully closed around the wire, or rated incorrectly for that circuit’s amperage.
Check that clamps on 240-volt circuits are showing combined readings from both hot wires. If you’re monitoring a dryer circuit, for example, the total should reflect the dryer’s actual power consumption when running. Compare readings across different circuits to ensure they’re proportional to expected usage patterns. Your HVAC system should show higher consumption during heating or cooling cycles, and your water heater should show consistent baseline consumption with periodic spikes during heating cycles.
If any clamp shows erratic readings or fails to detect current, first verify that the circuit is actually drawing power. Then check that the clamp is properly closed and oriented correctly. Consult your system’s troubleshooting guide or contact the manufacturer’s support team if issues persist. Troubleshooting smart meter connections often involves similar diagnostic steps to energy monitor verification.
What Common Mistakes Should You Avoid During CT Clamp Installation?
Installing Clamps on the Wrong Wire
The most common mistake is clamping the neutral wire instead of the hot wire. Neutral wires are typically white, while hot wires are black or red. Clamping the neutral wire will result in zero or incorrect readings. Always verify you’re clamping the hot wire connected to the breaker you want to monitor. If you’re unsure, use a non-contact voltage tester to confirm which wire carries voltage.
Using the Wrong CT Clamp Rating
CT clamps are rated for specific current ranges: 50A, 100A, 200A, or higher. Using a clamp rated for higher amperage than your circuit’s actual current will result in reduced sensitivity and inaccurate readings. Conversely, using a clamp rated for lower amperage than your circuit draws can damage the clamp and create safety hazards. Match your clamp rating to your circuit’s breaker amperage. A 20A circuit needs a 50A-rated clamp, not a 200A clamp.
Failing to Properly Close the Clamp
CT clamps must close completely around the wire with no gaps. A partially open clamp will provide inaccurate readings or no reading at all. Always ensure you hear or feel a distinct click when closing the clamp, indicating it’s fully seated. Periodically check that clamps remain fully closed, as vibration or accidental bumping can partially open them.
Installing Clamps on Both Wires of a Single-Phase Circuit
On single-phase 120V circuits, only clamp the hot wire. Never clamp both the hot and neutral wires, as this will cause the readings to cancel out and show zero consumption. For 240V circuits, clamp both hot wires to get the total consumption. Understand your circuit configuration before installing clamps.
Poor Cable Management
Running clamp cables alongside high-voltage power lines or coiling them tightly can cause electromagnetic interference and inaccurate readings. Route cables away from power lines, use appropriate conduit or cable clips, and maintain gentle curves without sharp kinks. Proper cable management also prevents accidental damage and improves safety.
Neglecting to Document Your Installation
Failing to label clamps and take photos of your panel configuration makes troubleshooting difficult and creates confusion if you need to modify your setup later. Spend time clearly labeling everything and documenting which clamp monitors which circuit. This documentation is invaluable for future reference and troubleshooting.
How Do You Optimize Your Energy Monitoring System After Installation?
Once your CT clamps are installed and verified, configure your monitoring system to provide meaningful insights into your home’s energy consumption. Most modern energy monitors allow you to set up alerts when specific circuits exceed certain power thresholds. For example, you could receive a notification if your dryer is left running for more than 45 minutes or if your HVAC system consumes more power than expected.
Use your monitoring data to automate appliances for off-peak hours, shifting consumption to times when electricity rates are lower. Many utility companies offer time-of-use rates that charge less during off-peak hours, typically late evening through early morning. Schedule dishwashers, laundry, and electric vehicle charging during these periods to reduce your electricity bill.
Create custom dashboards in your monitoring system that display the circuits most relevant to your energy management goals. If you’re focused on reducing HVAC costs, create a dashboard showing HVAC consumption trends. If you’re tracking phantom loads from always-on devices, create a dashboard for those circuits. Most systems allow downloading energy data in CSV format for deeper analysis and tracking consumption trends over time.
Set up automations based on energy consumption patterns. For example, if your water heater’s consumption spikes above normal levels, this might indicate a malfunction or leak—triggering an alert allows you to investigate quickly. Use consumption data to identify which appliances are energy vampires and prioritize replacement with more efficient models.
Frequently Asked Questions
Can You Install CT Clamps Without Turning Off Power to Your Electrical Panel?
Yes, CT clamps are non-invasive and don’t require breaking electrical connections, so you technically can install them without turning off power. However, turning off the circuits you’re working near is strongly recommended for safety. This prevents accidental contact with live wires and reduces electrical shock risk. Always use a non-contact voltage tester to verify circuits are de-energized before working near them, even if you’ve turned off the breaker.
What Happens If You Install a CT Clamp Backwards on Your Wire?
Installing a CT clamp backwards will typically result in negative power readings or zero readings, depending on your monitoring system’s configuration. Most modern systems can detect and correct reversed clamps automatically through their software. However, some older systems may show incorrect consumption data. If you suspect a clamp is installed backwards, simply remove it, flip it around, and reinstall it. Check your readings to verify they’re now accurate and positive.
How Many CT Clamps Can You Connect to One Energy Monitoring Hub?
The number of CT clamps supported depends on your specific monitoring hub model. Most systems support between 6 and 16 clamps. Check your hub’s specifications before purchasing additional clamps. If you need to monitor more circuits than your hub supports, you can add a second hub or upgrade to a higher-capacity system. Some systems also allow daisy-chaining multiple hubs for expanded monitoring capacity.
Do CT Clamps Work on 240-Volt Circuits Like Your Dryer or Air Conditioner?
Yes, CT clamps work on 240-volt circuits, but you need to clamp both hot wires to get accurate total consumption readings. Most 240V circuits have two hot wires (typically red and black) and one neutral wire (white). Clamp both hot wires, and your monitoring system will combine the readings to show total power consumption. Some monitoring hubs have special dual-clamp configurations designed specifically for 240V circuits.
Can You Move CT Clamps to Different Circuits After Installation?
Yes, CT clamps are completely reusable and can be moved to different circuits whenever you want. This flexibility is one of their primary advantages. Simply remove a clamp from its current location, clamp it around a different wire, and reconfigure your monitoring system to reflect the new circuit assignment. This allows you to experiment with different monitoring configurations to find the most useful setup for your energy management goals.
What Should You Do If a CT Clamp Shows Zero Watts When the Circuit Should Be Drawing Power?
First, verify the circuit is actually drawing power by turning on a high-power device on that circuit. If the clamp still shows zero, check that the clamp is fully closed with no gaps around the wire. Verify you’re clamping the hot wire, not the neutral wire. Ensure the clamp is rated for your circuit’s amperage. If all of these check out, the clamp may be defective and need replacement. Contact the manufacturer for troubleshooting assistance or a replacement unit.
Is Installing CT Clamps Energy Monitor Worth the Effort in 2026?
Installing CT clamps for home energy monitoring is absolutely worth the effort in 2026, especially if you’re serious about reducing electricity costs and optimizing your smart home system. The investment in time and equipment typically pays for itself within 6-12 months through reduced energy consumption and optimized usage patterns. Unlike traditional whole-home energy monitors that only show total consumption, CT clamps provide granular circuit-level data that reveals exactly which appliances and systems consume the most energy.
The practical benefits extend beyond cost savings. Detailed energy monitoring helps you identify electrical problems early—unusual consumption spikes can indicate failing appliances, phantom loads from always-on devices, or inefficient HVAC operation. This early detection prevents more expensive failures and extends appliance lifespans. For homeowners building a smart home step by step, energy monitoring is a foundational component that enables advanced automations and provides the data needed for intelligent decision-making.
Modern energy monitoring systems integrate seamlessly with smart home platforms, allowing you to automate responses based on consumption data. You can shift appliance usage to off-peak hours when electricity rates are lower, adjust thermostat settings based on consumption patterns, and receive alerts when circuits exceed expected consumption levels. The visibility into your home’s energy consumption also helps you make informed decisions about major upgrades—such as whether solar panels, battery storage, or an electric vehicle charger make financial sense for your specific situation.
The installation process, while requiring attention to safety and proper technique, is straightforward enough for most homeowners with basic electrical knowledge. The non-invasive nature of CT clamps means you don’t need to hire an electrician or make permanent modifications to your electrical system. If you’re starting a smart home on a small budget, energy monitoring provides excellent return on investment by identifying quick wins for reducing consumption before making expensive upgrades. In 2026, with increasing emphasis on home energy efficiency and time-of-use electricity rates becoming more common, CT clamp energy monitoring is an essential tool for any smart home owner.









Write Your Review
No reviews yet. Be the first to share your experience!